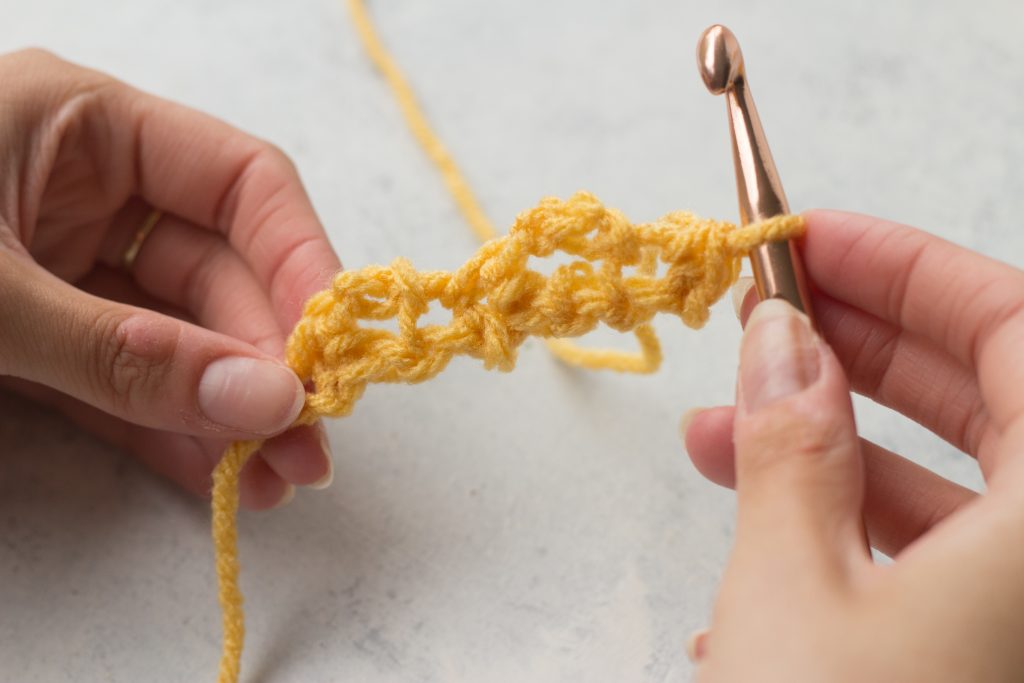
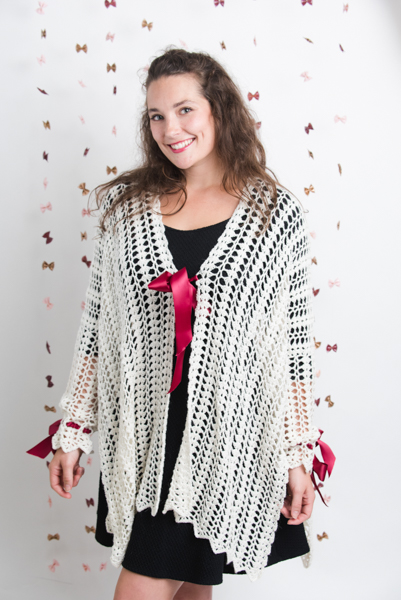
On the hunt for new crochet lace stitches to try? Practice a swatch for the Tied and True, featured in the October 2018 issue, with this tutorial on crocheting lace clusters and V stitches. Master this stitch and you’ll be equipped to make the stunning lacy cardigan, perfect for holiday gift giving with the loveliest
On the hunt for new crochet lace stitches to try? Practice a swatch for the Tied and True, featured in the October 2018 issue, with this tutorial on crocheting lace clusters and V stitches. Master this stitch and you’ll be equipped to make the stunning lacy cardigan, perfect for holiday gift giving with the loveliest feminine flair. You can also use this swatch as a starting point for a scarf if you’re looking for a project that’s beginner friendly. If you’ve never crocheted lace, this step-by-step tutorial is a wonderful starting point for you to master some of the most beautiful stitch work there is to offer in crochet.
Notes:
The Tied and True Cardigan Pattern uses size 2 Fine yarn and a US size 7 crochet hook. This stitch is demoed with 4 Worsted Weight yarn and a US size N crochet hook.
This tutorial features a basic swatch that is a sampling of the rest of the Tied and True Cardigan pattern. To view the full pattern, join the Gold Club! Subscribe today.
Skill Level: Intermediate
Yarn: Red Heart With Love in Cornsilk
Hook: US Size N
Abbreviations:
st(s) – stitch(es)
sp – space
ch – chain stitch
sc – single crochet
dc – double crochet
tr – treble crochet
Special Stitches:
Chainless starting double crochet (dcstart): (sc, ch 2) in first st.
V-Stitch (V-st): (dc, ch 2, dc) in indicated st or sp.
Shell Stitch (Shl): (3 dc, ch 2, 3 dc) in indicated st or sp.
Stacked Rows Foundation
Row 1: Ch 2

Sc in second ch from hook
Row 2: Ch 3, turn
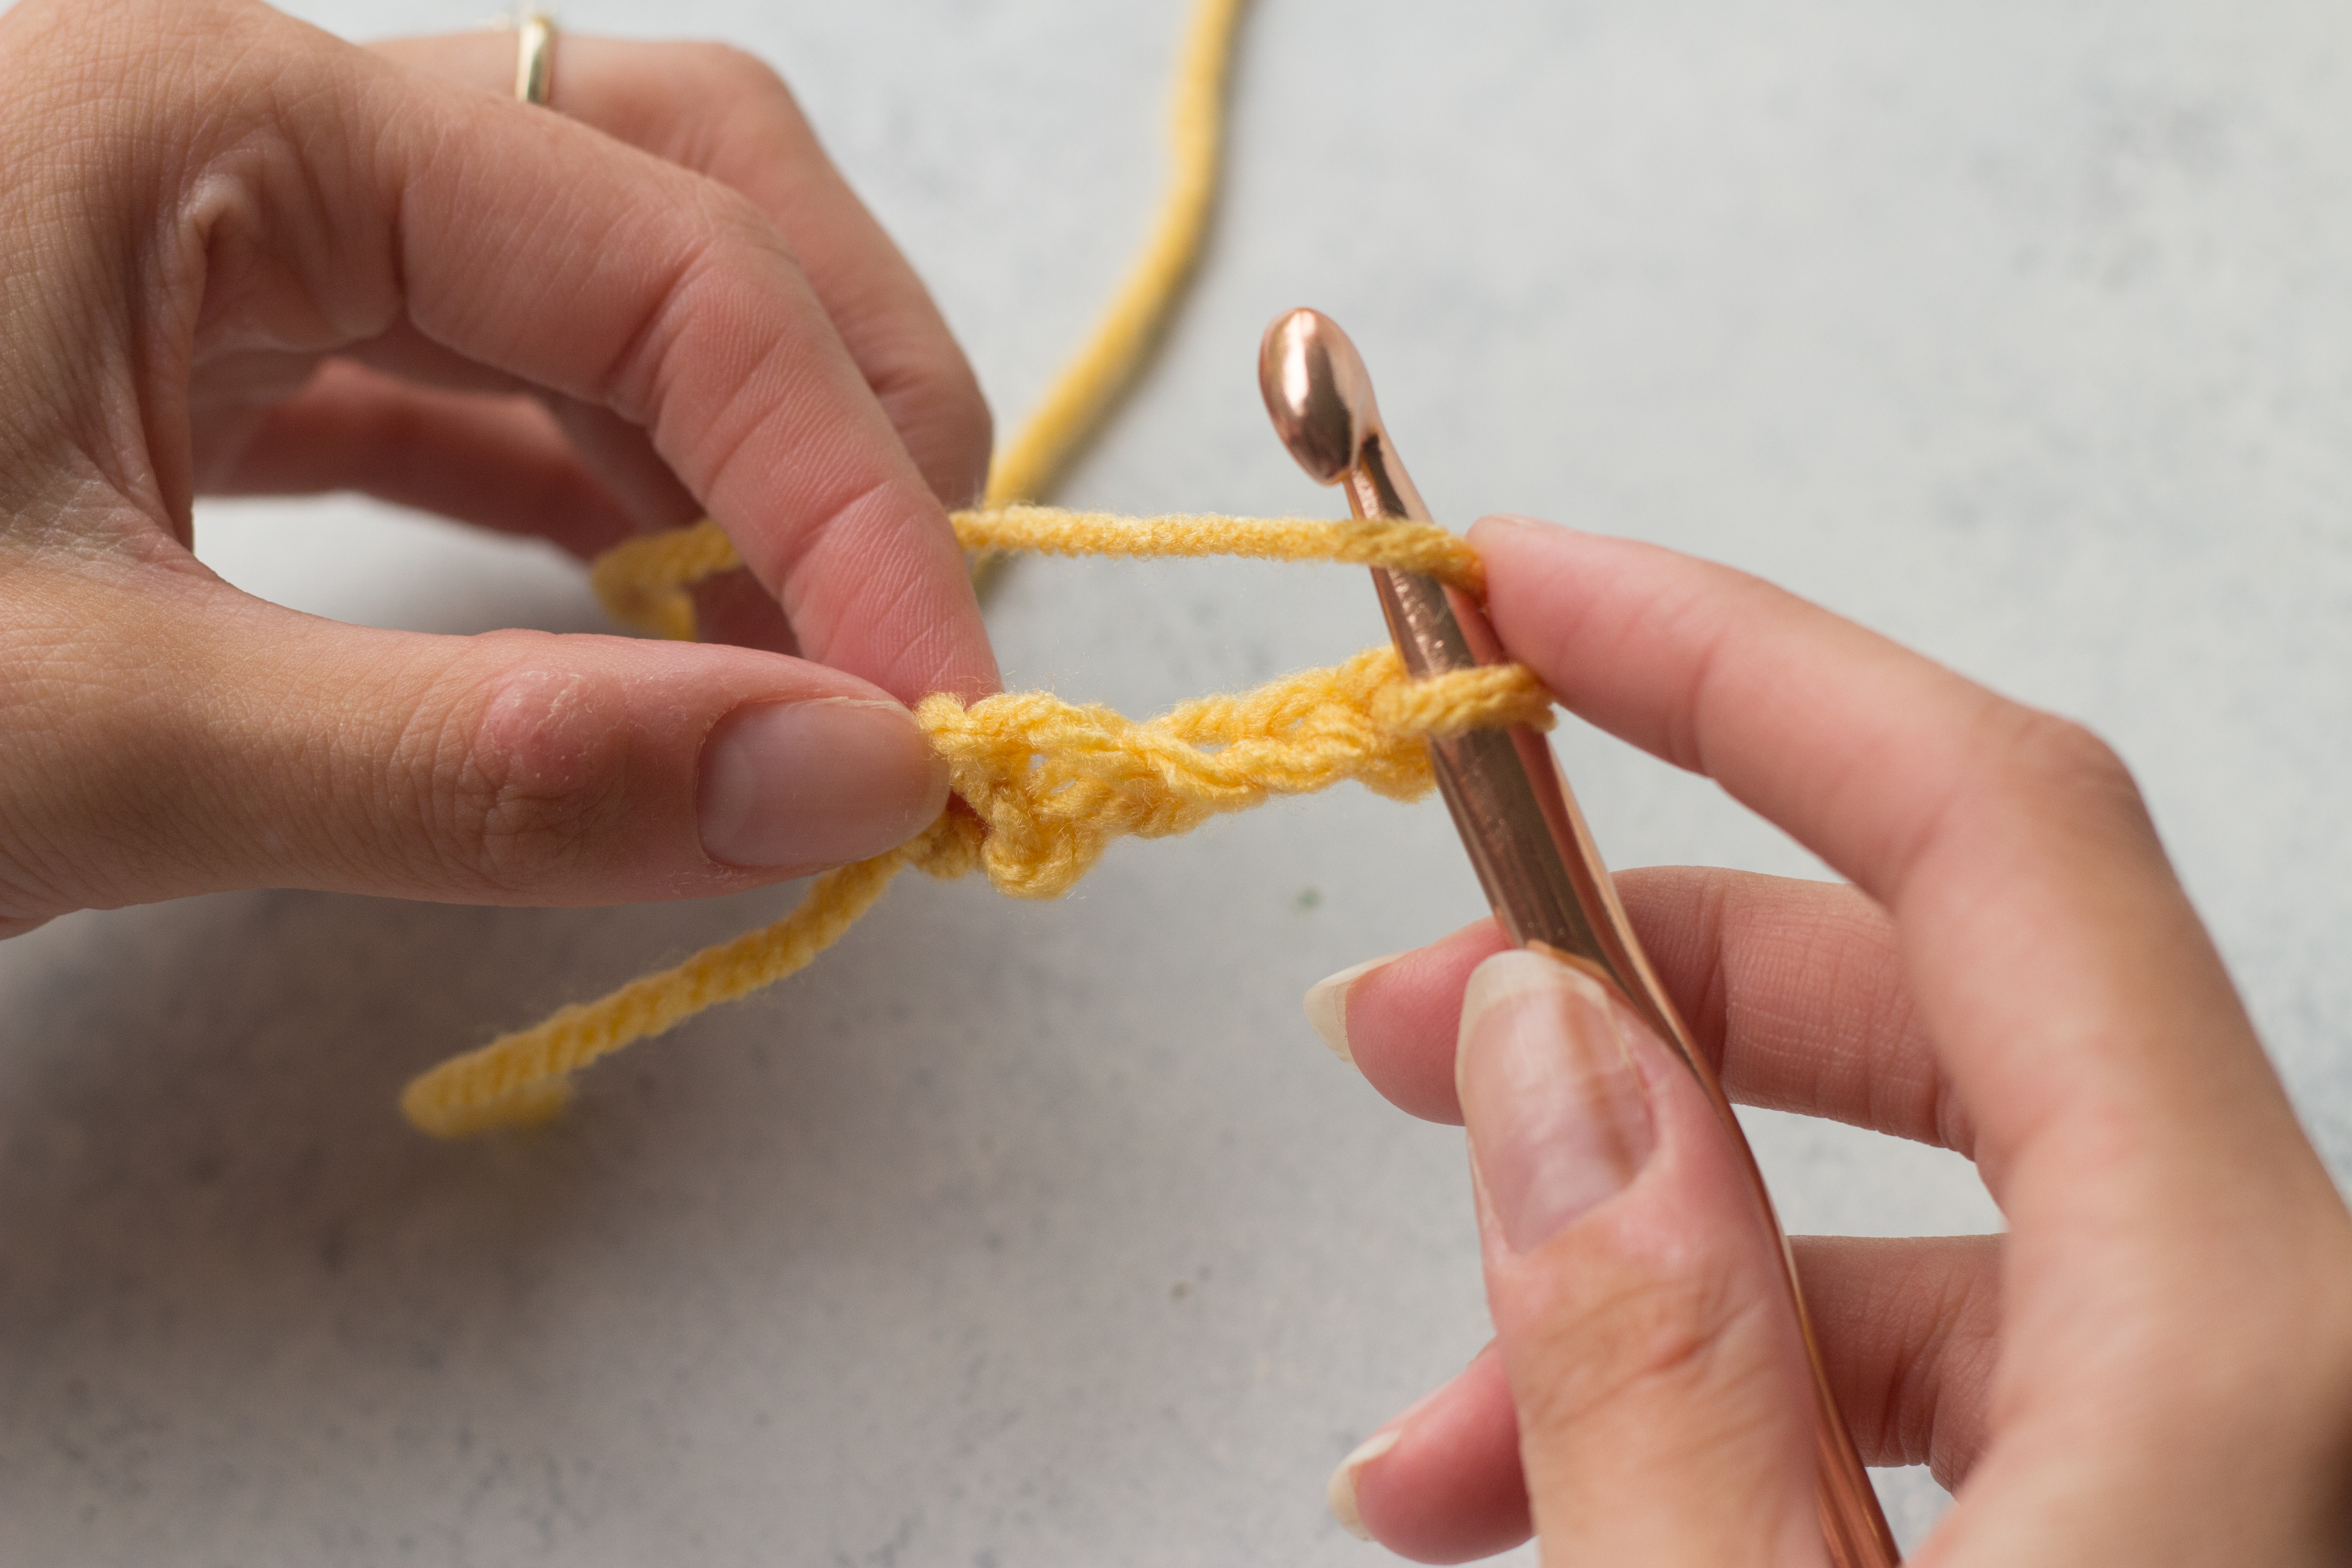
dc in sc st
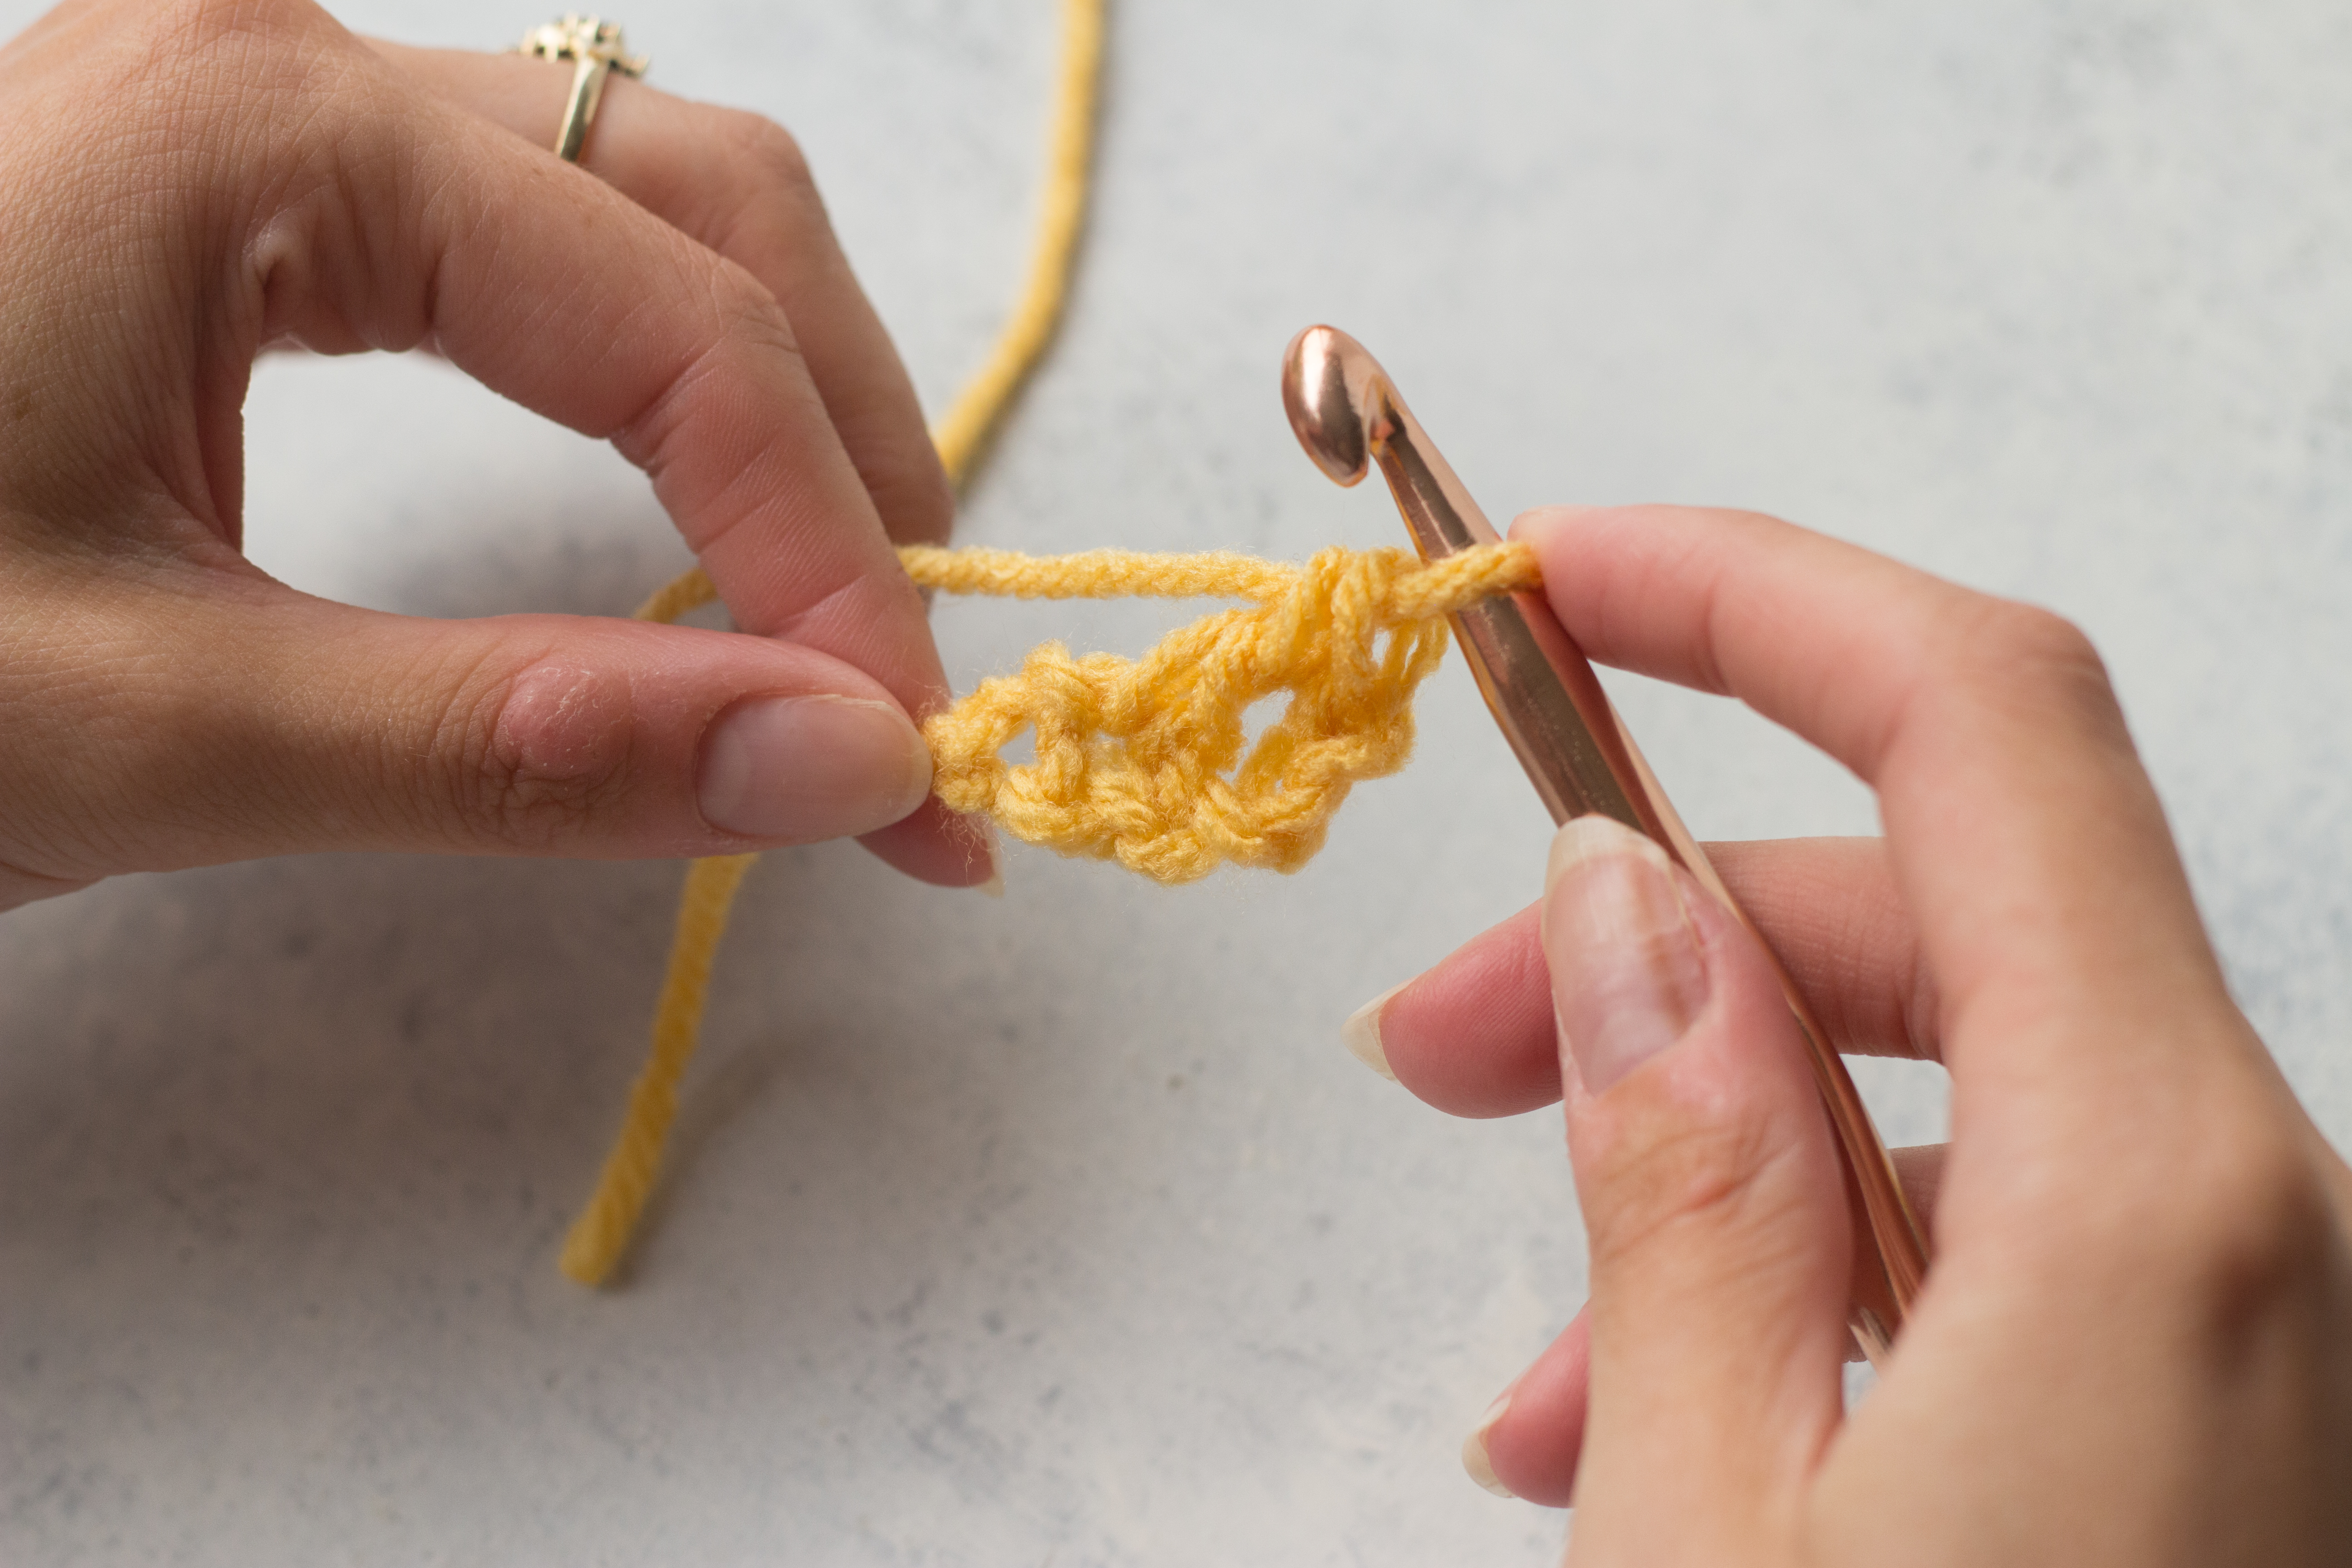
Row 3: Ch 1, turn, sc in dc st
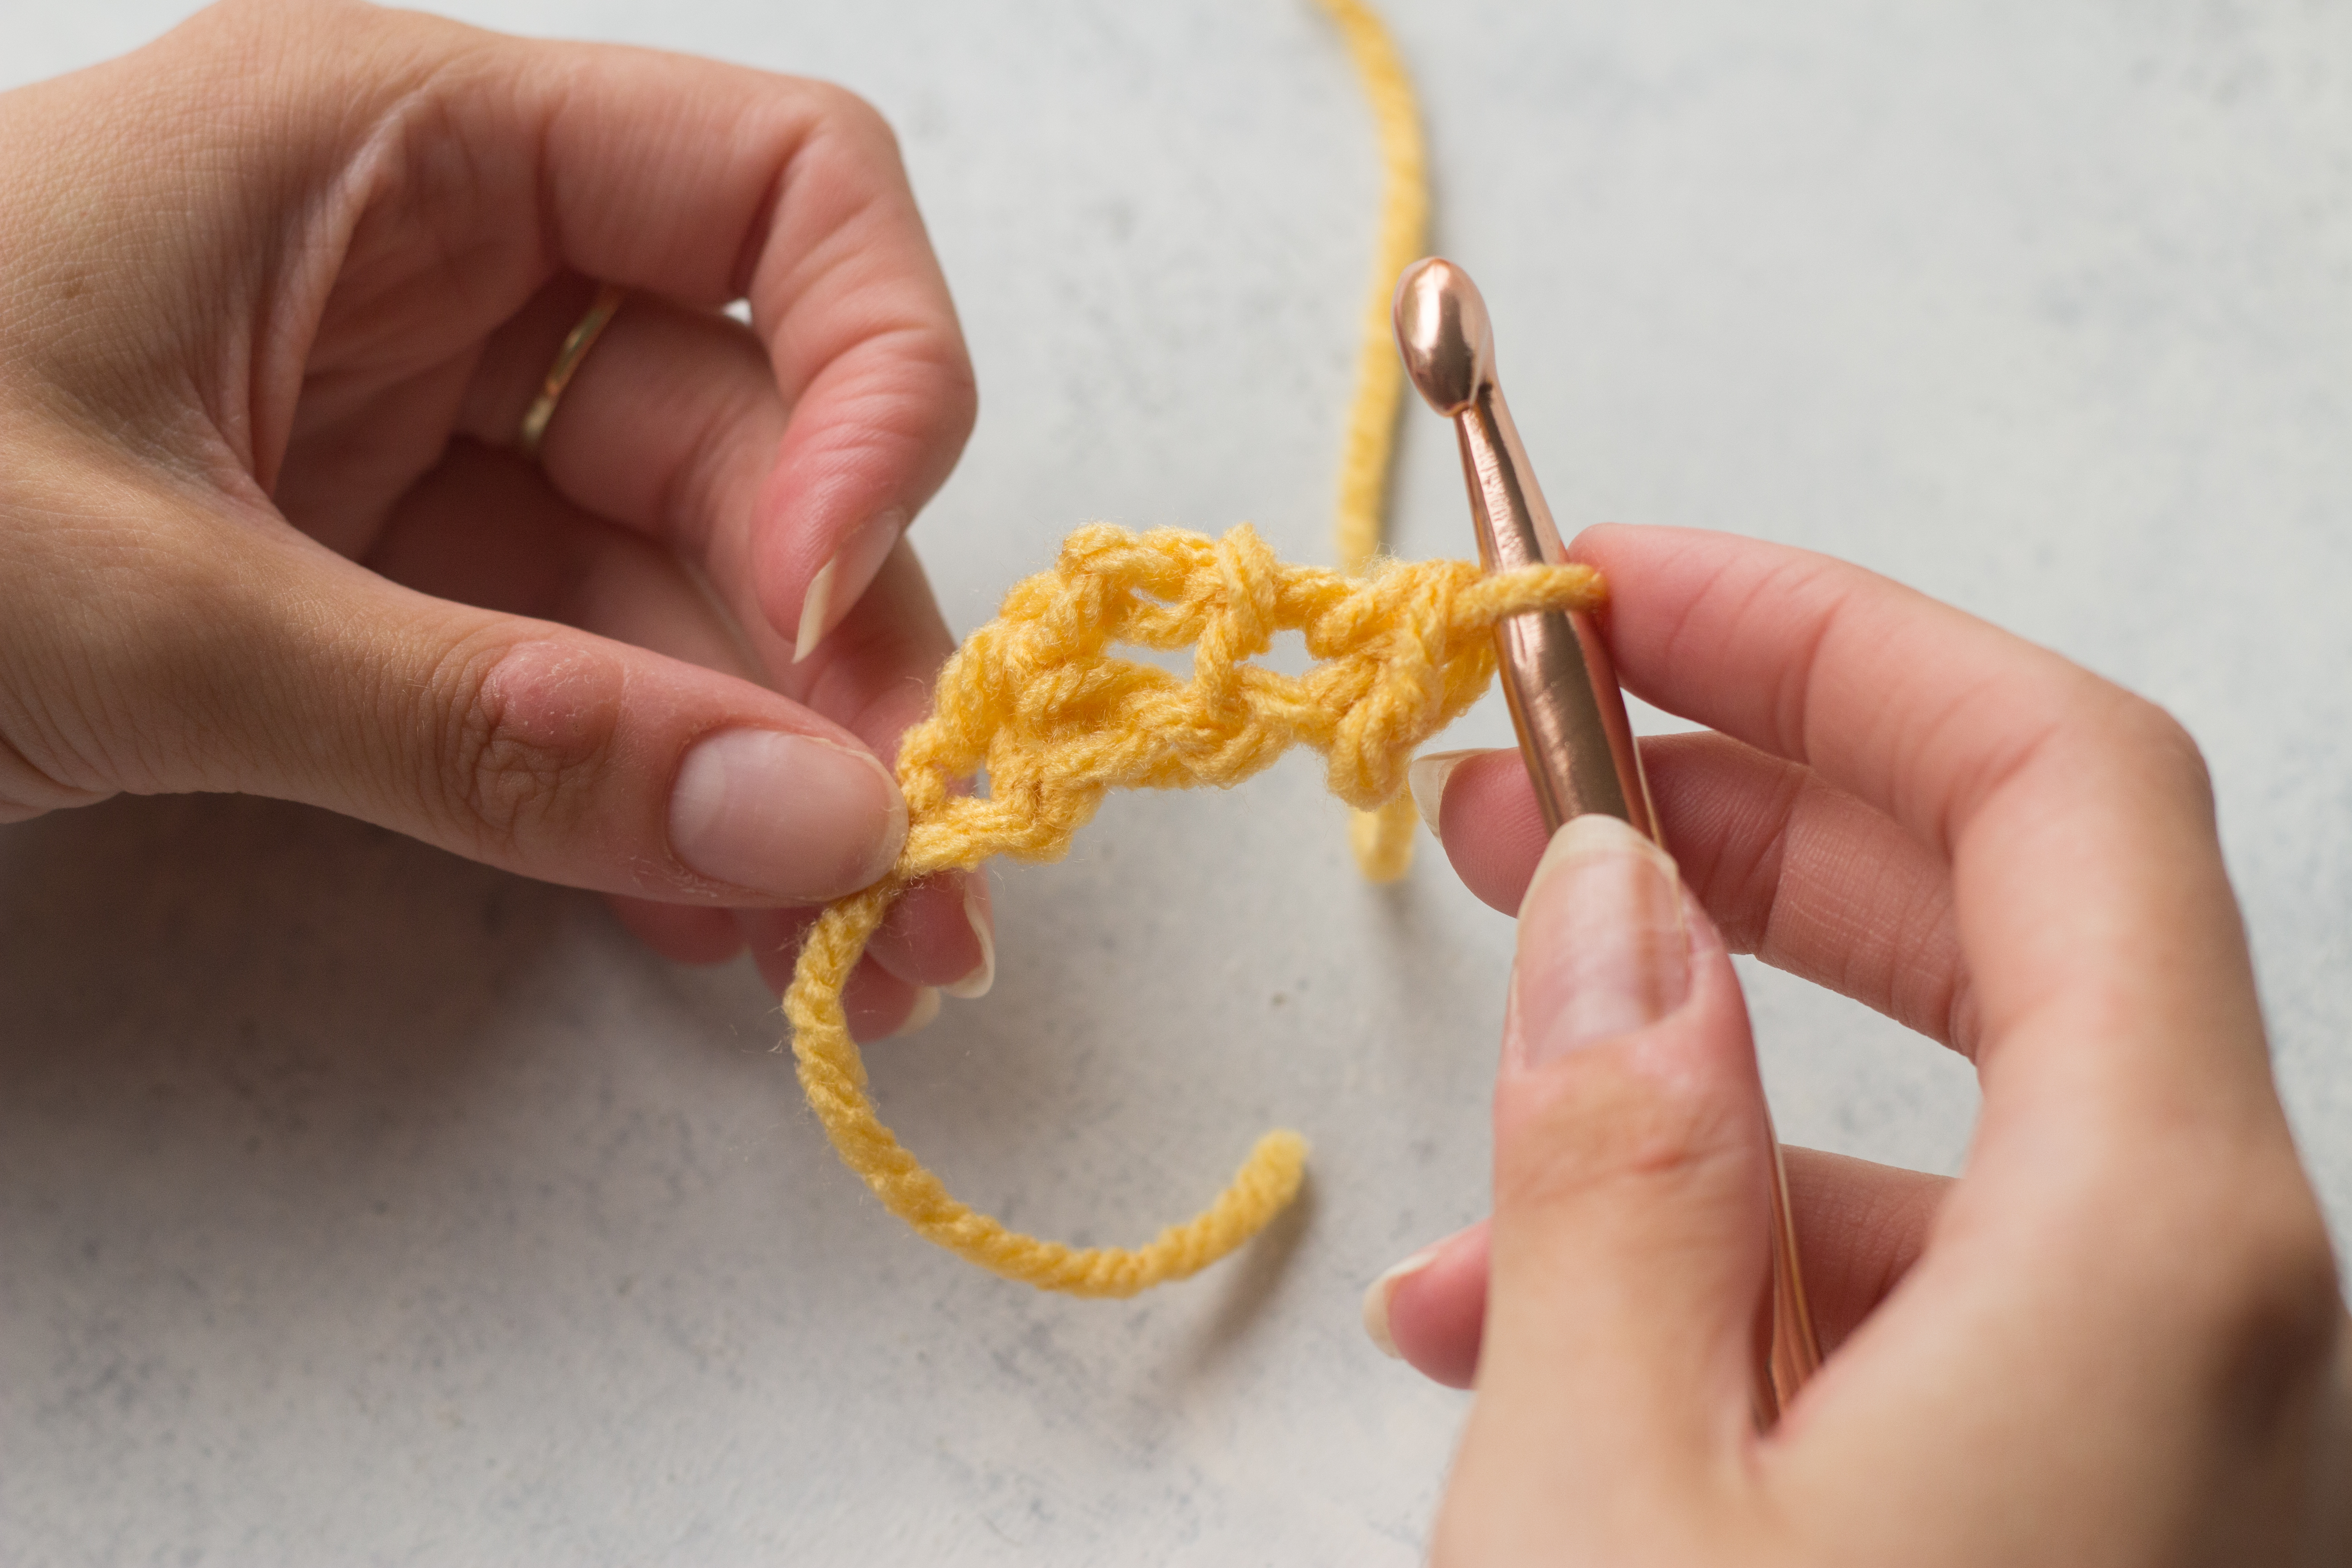
Row 4: Ch 4, turn, Tr in sc st
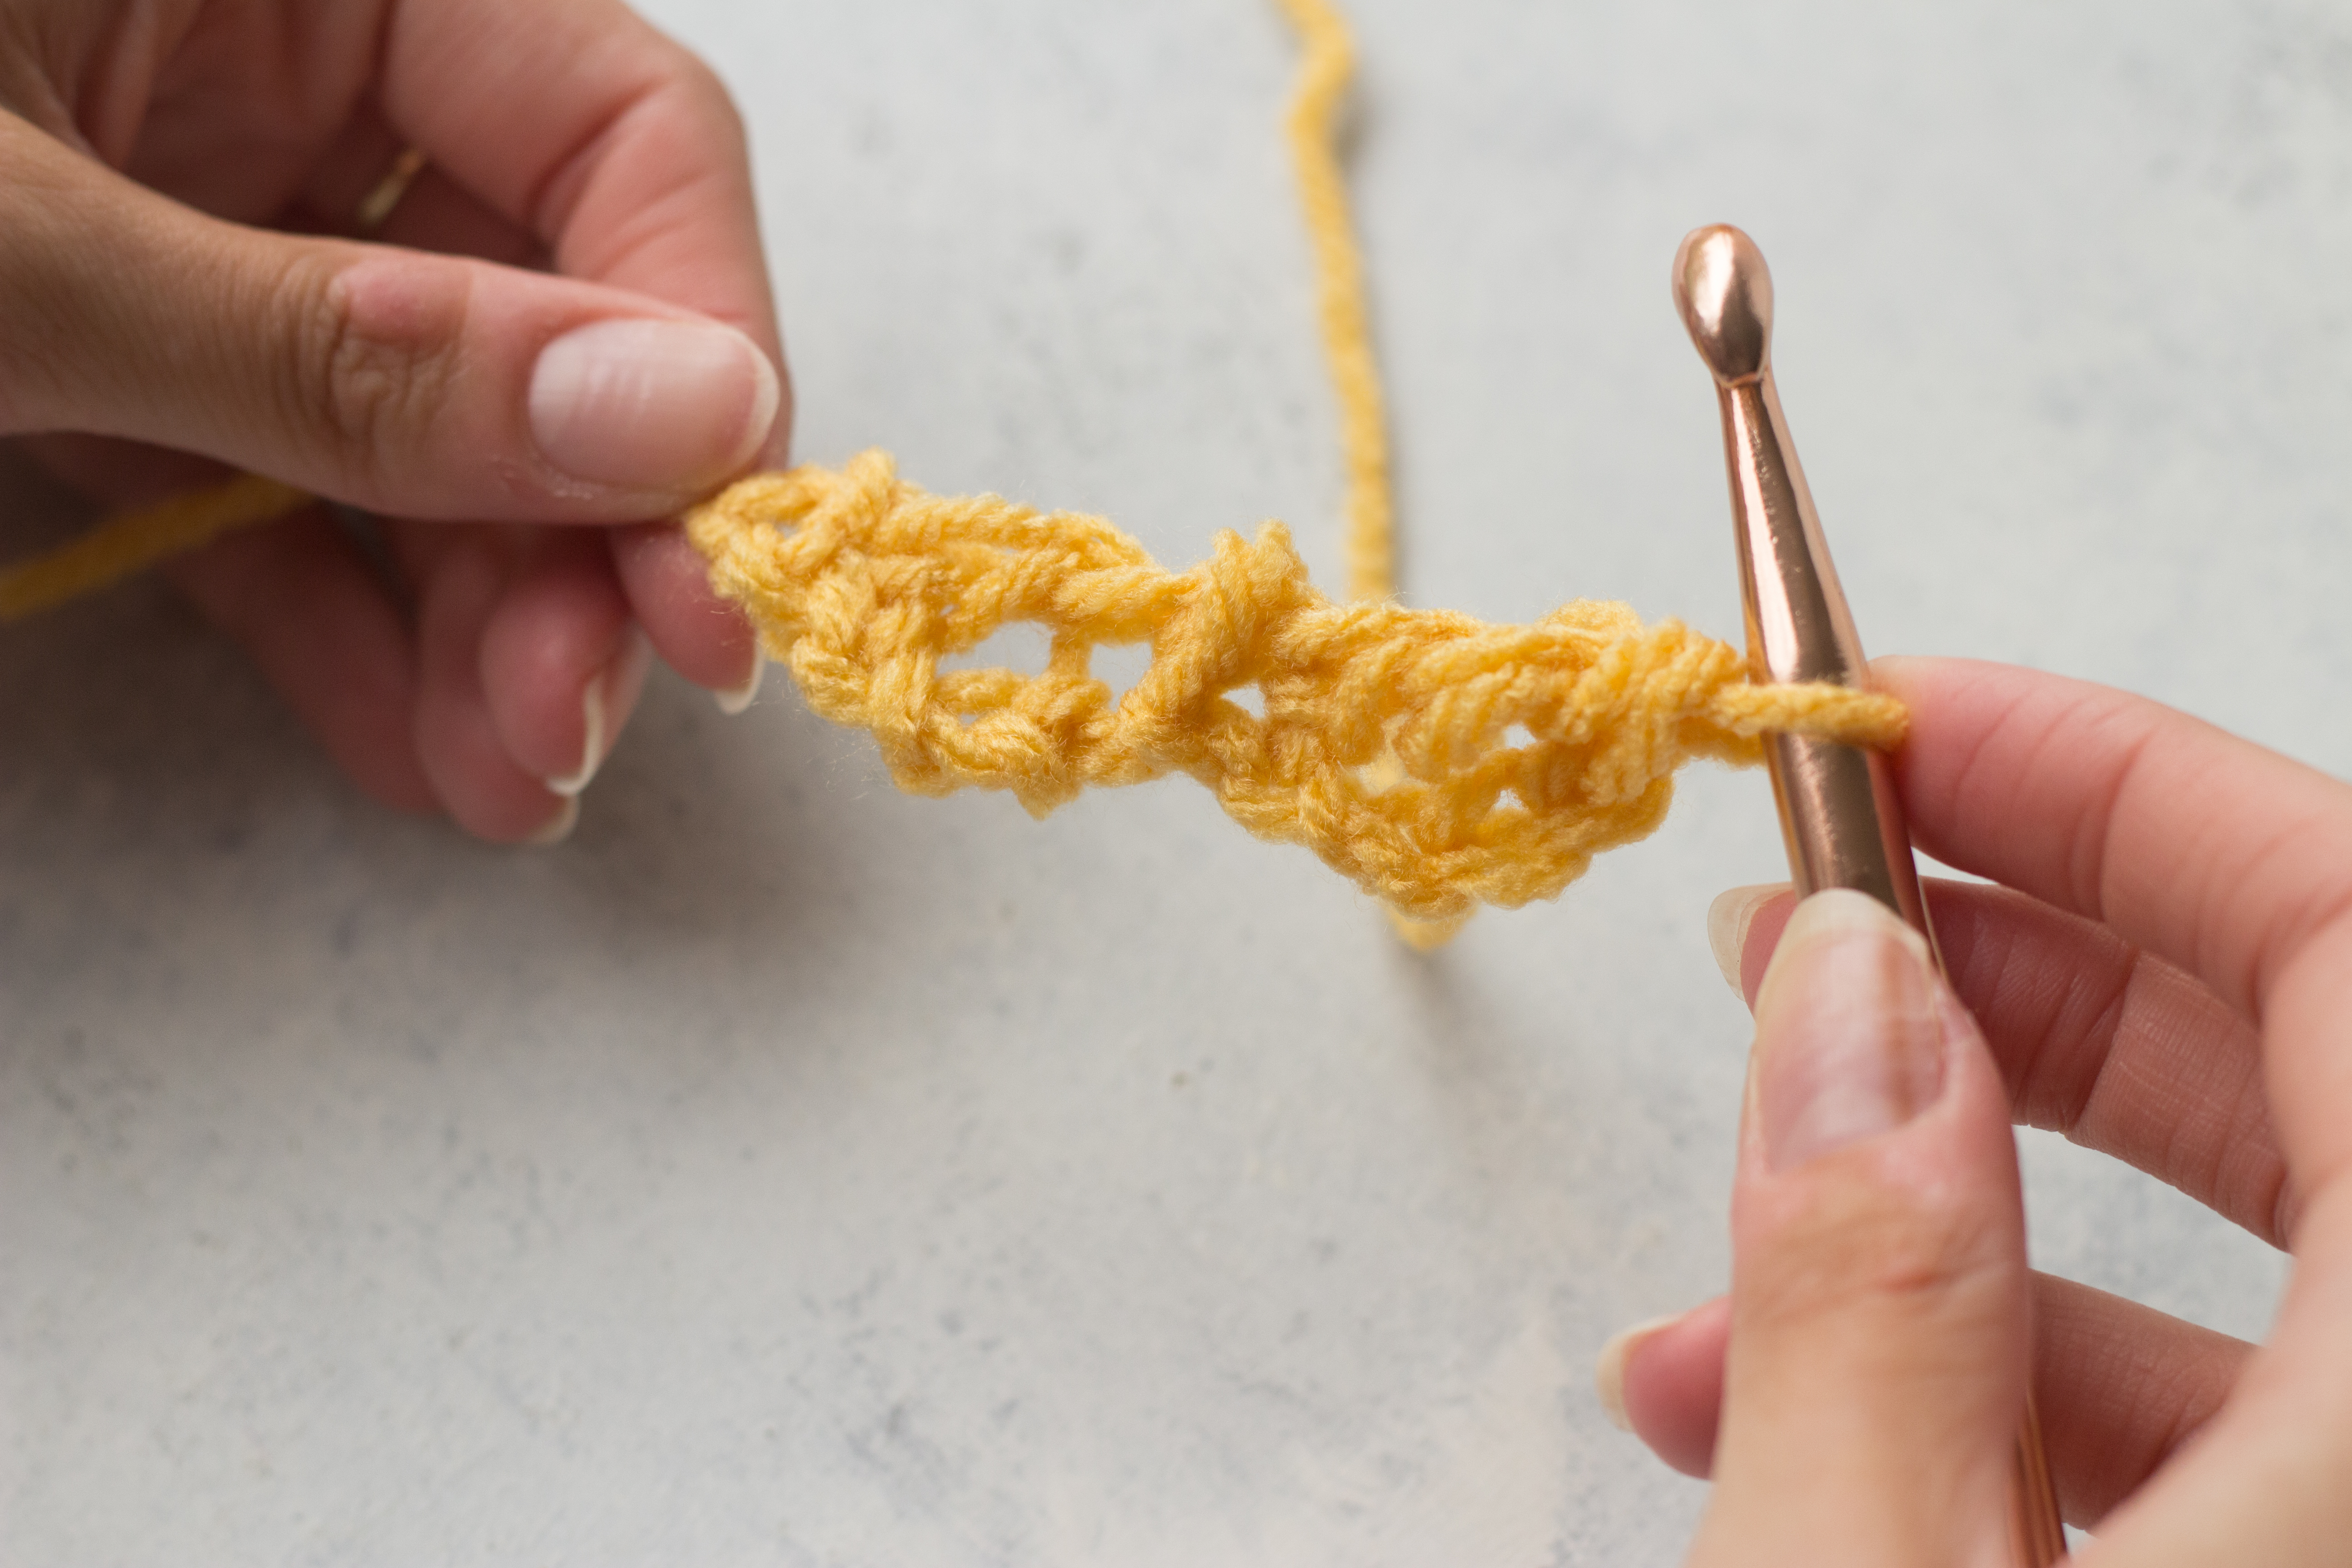
Row 5: Ch 1, turn, sc in Tr st
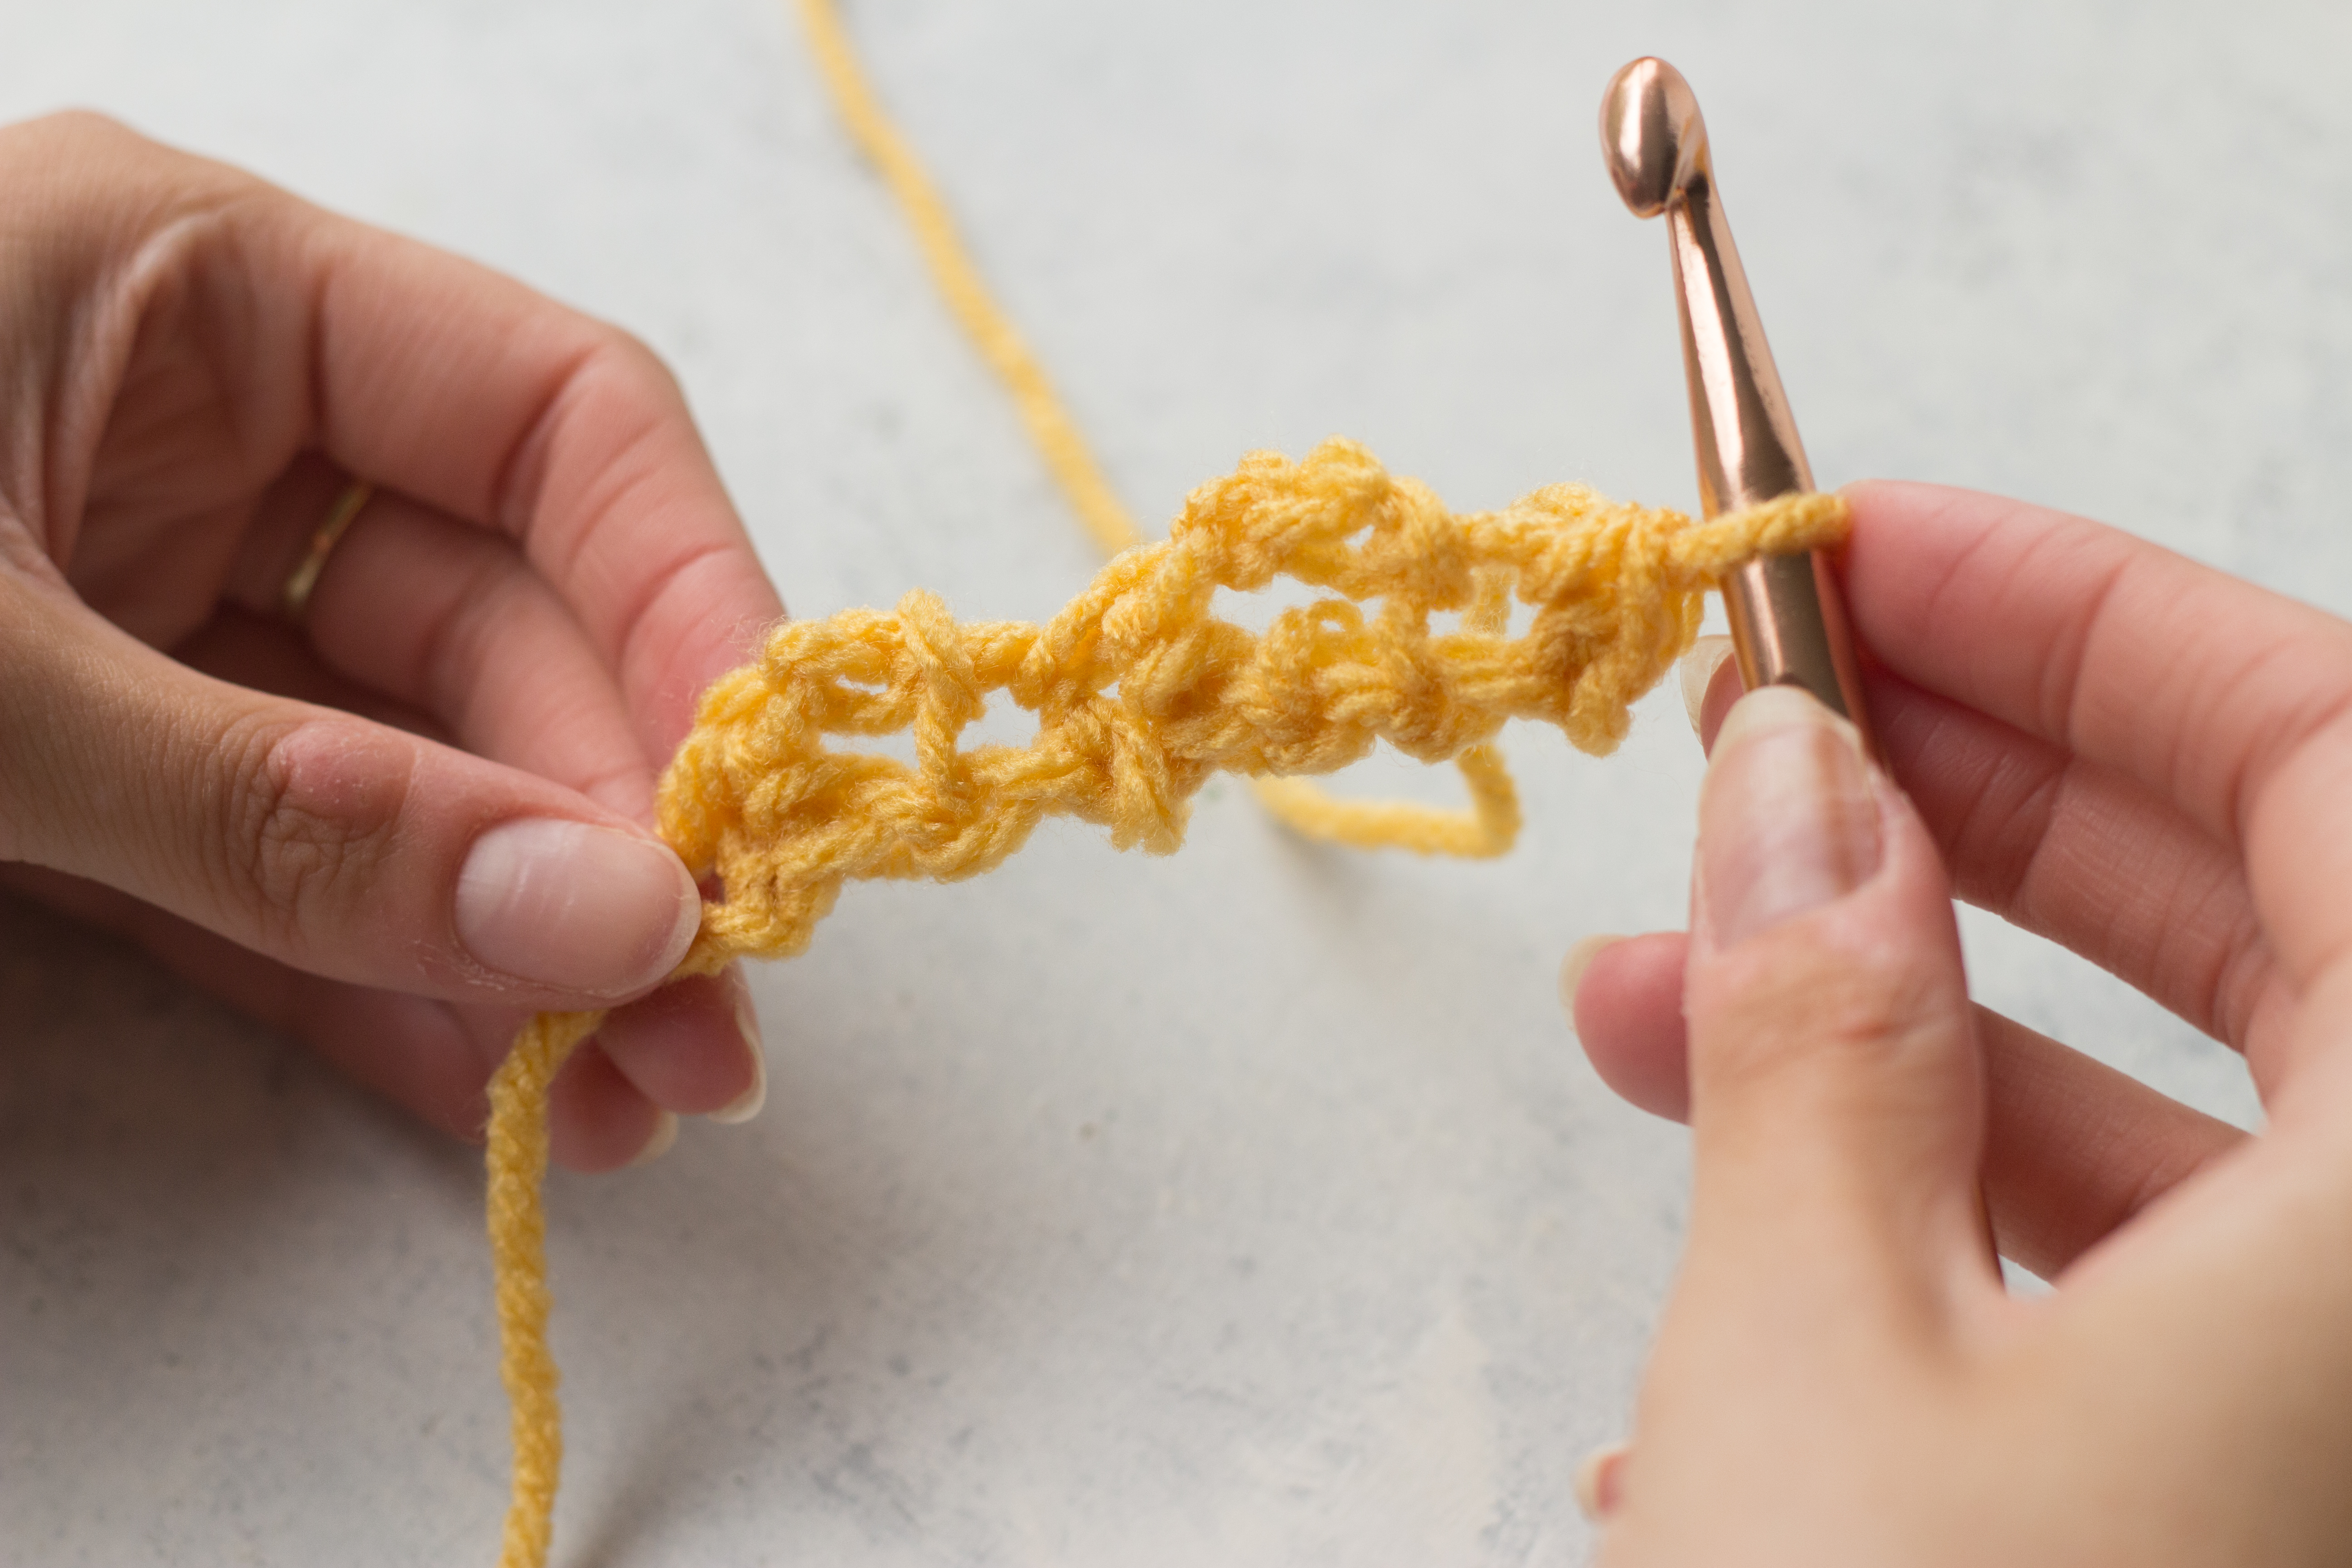
Rows 6-13: Alternate repeating Row 4 and Row 5
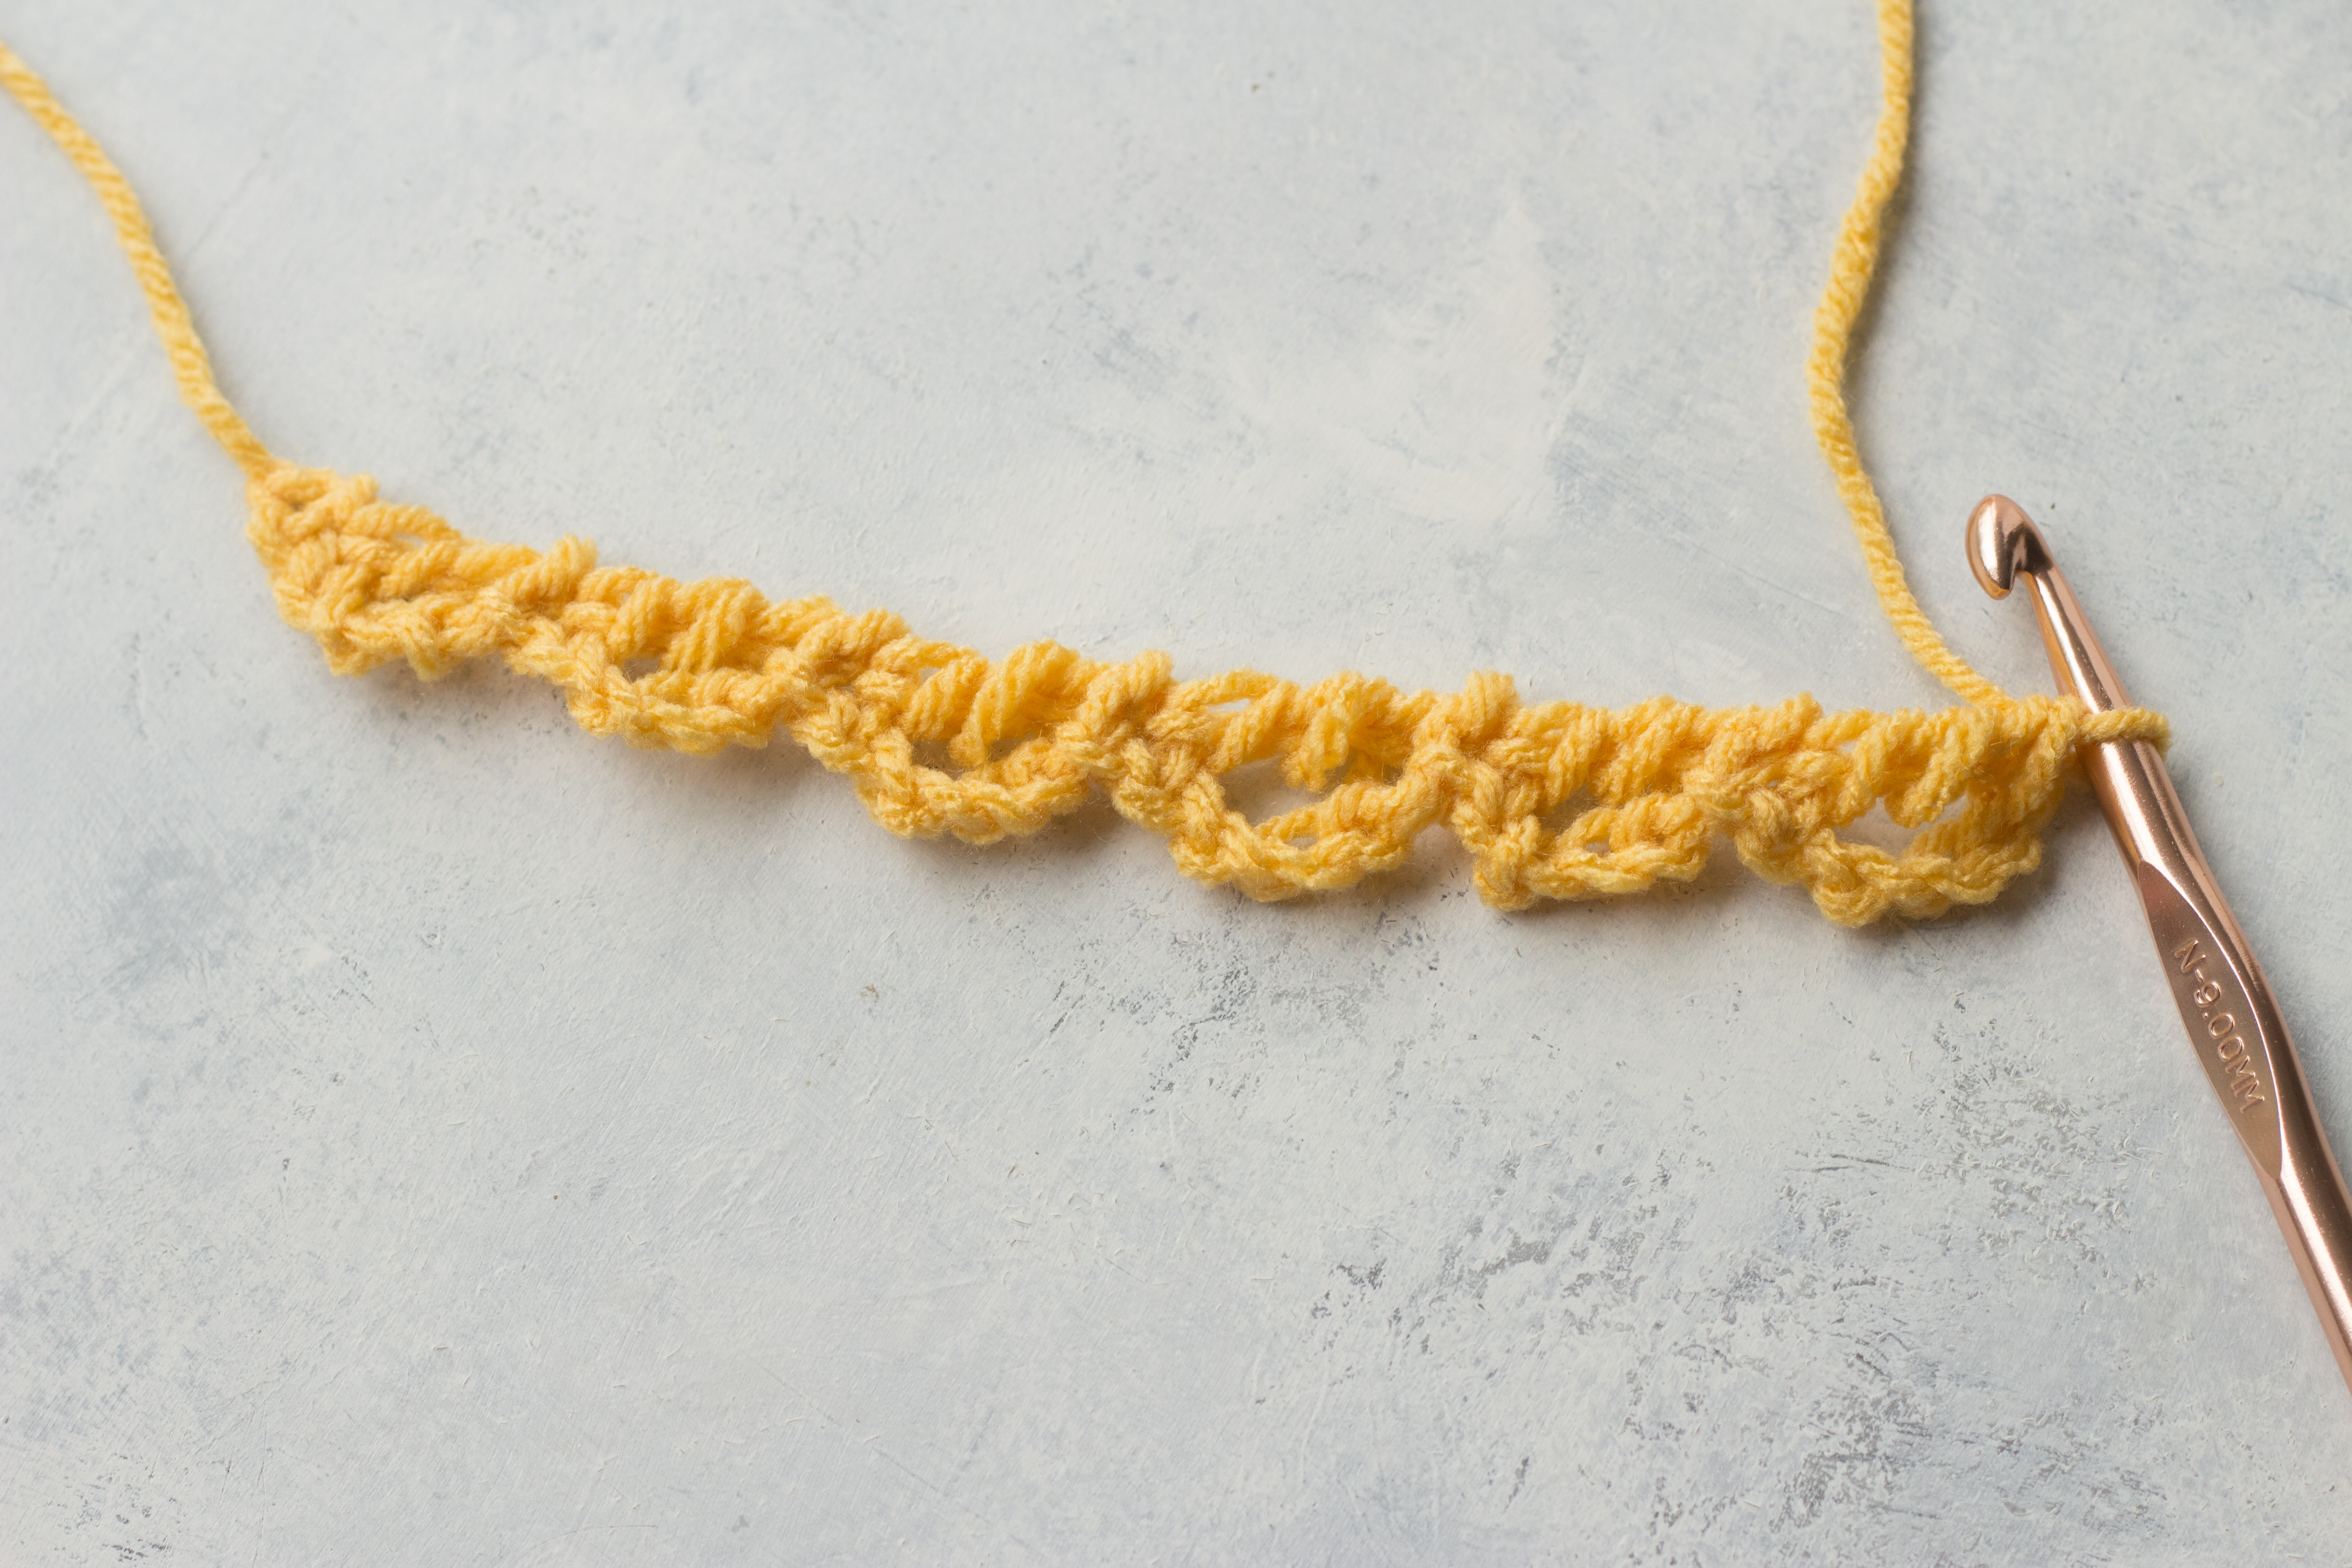
Row 14: Repeat Row 2
Row 15: Repeat Row 3
Panel
NOTE: it does not matter which side of the stacked rows foundation you work off of. There are back AND front panels in the original pattern, so eventually you will be working off both sides of the foundation; it doesn’t matter which side you start with.
Row 1 (RS): Turn to work along the side of stacked rows foundation, dcstart in first sc row
sk next row, Shl in next sc row, ch 1, sk next row
V-st in next sc row, ch 1, sk next row
Shl in next st
sk 3 sts, dc in next st
Row 2: Turn, dcstart in first st, sk 4 sts, Shl in ch-2 sp of next Shl, ch 1, sk 5 sts, V-st in ch-2 sp of next V-st, ch 1, sk 5 sts, Shl in ch-2 sp of next Shl, sk 4 sts, dc in top of dcstart.
Rows 3-6: Repeat Row 2.


