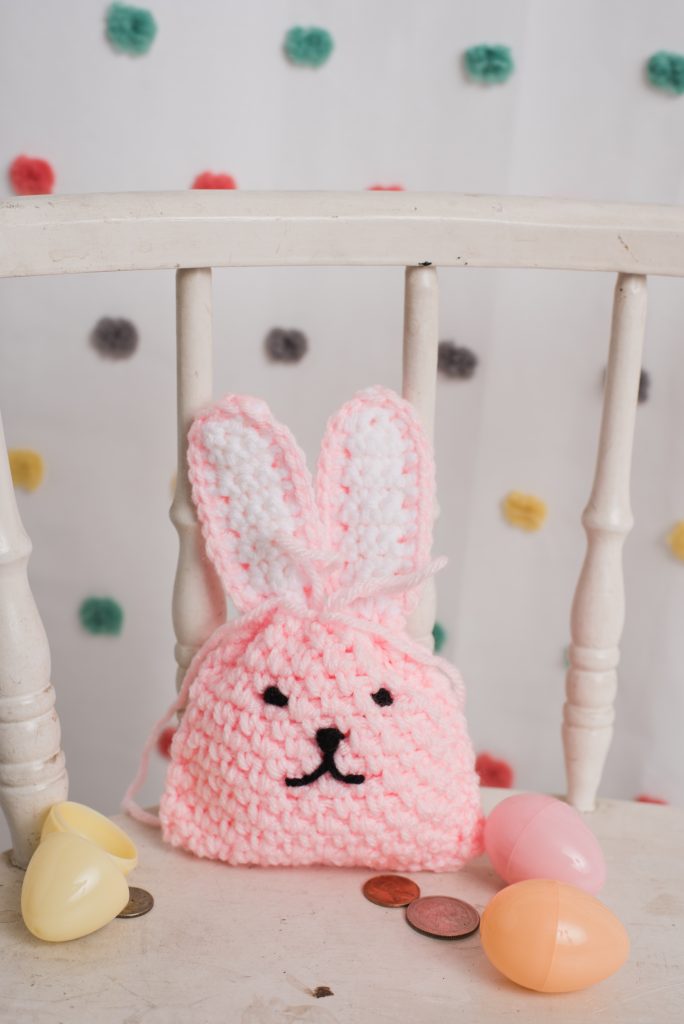
Tuck away some treats or hide a special gift inside this sweet little gift bag that features bunny ears and an adorable face. This mini version is just like the original Sunny Bunny Bag from our April 2017 issue. We can’t decide which version is cuter!
Skill Level: Easy
Size: Approximately 4” wide x 6 ½” tall including ears
Gauge: 19 sts and 16 rows = 4” [10 cm] in stitch pattern
Materials
 Yarn: Red Heart Baby Hugs Medium (100% Acrylic; 247 yards [225 meters]/127 grams): # 4724 Pinkie (MC) 1 ball, #4001 Frosting (CC), 1 ball
Hook: US size H/8 (5.0mm)
Notions: Tapestry needle, black scrap yarn or black embroidery floss
Pattern
Back
With MC, ch 21.
Row 1: Sc in 2nd ch from hook, *ch 1, sk next ch, sc in next ch; rep from * to last ch, sc in last ch, turn – 20 sts.
Row 2: Ch 1, sc in first sc, *ch 1, sk next sc, sc in ch-1 sp; rep from * to last st, sc in last sc.
Rows 3-15: Repeat row 2.
Ears
First Ear
Row 1: Sl st in first sc, ch 1, sc in next 4 sts, turn – 4 sts.
Rows 2-10: Ch 1, sc in each sc, turn.
Row 11: Ch 1, sc2tog twice – 2 sts.
Row 12: Ch 1, sc2tog – 1 st.
Fasten off.
Second Ear
Skip 10 sts, join MC in next st and rep rows 1-12 for First Ear.
Front
Work same as back to ears.
Change to CC and work Ears instructions same as for back.
Finishing
Sew side seams and bottom, leaving top and ears unsewn.
Ear Edging
First Ear
Holding front and back ear together, join MC at outer edge of ear, working through both front and back. Sc evenly around ear, making sure to work through both ear edges.
Fasten off.
Repeat for second ear.
Face
Use black embroidery floss or scrap yarn to embroider eyes, mouth and nose.
Cut a half yard of CC and weave it through top layer of body (directly below ears). Pull tight to close.


What’s the best way to join thread to do the second ears? Thanks
would think the same way as first ear, slip stitch in indicated stitch and follow instructions for 1st ear.