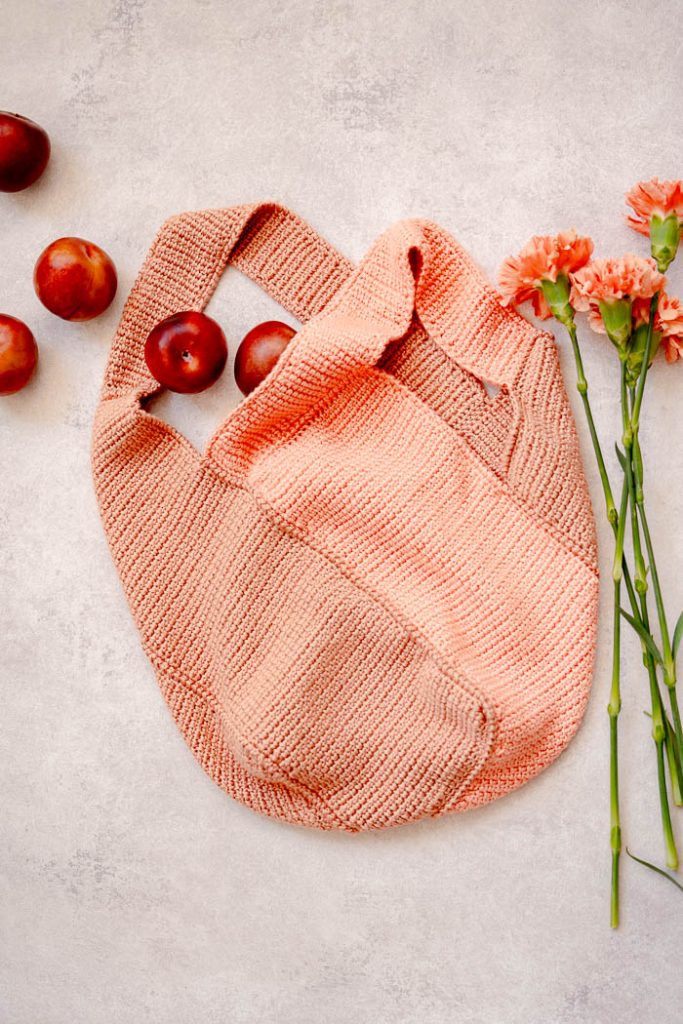
Stylish, durable and washable! Crochet a grocery tote that you can use again and again. Stitches are locked tighter together in this project because four rectangle panels are each worked in center half double crochet. They are joined and edged with twisted single crochet which is easier and just as gorgeous as reverse single crochet.
Time: 2 weeks
Skill Level: Intermediate
SIZES: 7.5” wide x 7.5” deep x 17.5” tall
Gauge: 18 sts and 22 rows = 4” [10 cm] in chdc st
Materials
Yarn: Lion Brand Yarns Truboo (100%rayon; 241 yards [220 meters] / 3.5 ounces [100 grams]): #837 1847 Sienna (MC 3 balls), #837 103 Coral (CC 1 ball)
Hook: US size G/6/4.0 mm
Notions: Stitch markers (34), tapestry needle
Abbreviations
CHDC = Center Half Double Crochet
CSC = Center Single Crochet
TSC = Twisted Single Crochet
Special Stitches
Center Half Double Crochet (CHDC): Yarn over, insert hook between the legs/v’s of the post of the next half double crochet, yarn over, draw through stitch, yarn over, draw through all three loops on the hook.
Center Single Crochet (CSC): Insert hook between the legs/v’s of the post of the next half double crochet, yarn over, draw through stitch, yarn over, draw through both loops on the hook.
Twisted Single Crochet (TSC): Insert hook in next stitch, yarn over, draw through stitch, twist hook in a counter-clockwise direction 1 full turn, yarn over, draw through both loops on hook.
Pattern Notes
Main portion of bag is made from 4 rectangular panels. Two skinny rectangular panels are crocheted separately and attached which will act as handles. All panels will be stitched in short rows with a round of single crochet so panels can be more easily joined. All rectangles will be made first then pinned and joined together.
All panels are joined with twisted single crochet (or you can use reverse single crochet and achieve a similar look).
Chain 1 at beginning of rows do not count as a stitch.
Work Row 1 loosely because first row of center half double crochet (CHDC) will be challenging to crochet. CHDC will be much easier in subsequent rows.
Stitch markers at each corner ch-1 are to help align panels for joining. Count them as a stitch as you join panels.
Pattern
Body Panel (make 3 in MC and 1 in CC)
Ch 25.
Row 1: Loosely hdc in 2nd ch from hook and each ch across, turn. (24 hdc)
Rows 2-84: Ch 1, chdc (see Special Stitches) in each st across, turn. (24 chdc)
Row 85: Ch 1, csc (see Special Stitches) in each st across, do not turn. (24 csc)
Rnd 1: *Ch 1 at corner (PM around ch-1), turn to side of work, work 76 sc evenly across, ch 1 at corner (PM around ch-1), sc in each st across, rep from *, join with sl st. (200 sc, 4 ch-1)
Fasten off; weave in ends.
Handle (make one in each color)
Ch 10.
Row 1: Loosely hdc in 2nd ch from hook and each ch across, turn. (9 hdc)
Rows 2-74: Ch 1, chdc in each st across, turn. (9 chdc)
Row 75: Ch 1, csc in each st across, do not turn. (9 csc)
Rnd 1: *Ch 1 at corner (PM around ch-1), turn to side of work, work 68 sc evenly across, ch 1 at corner (PM around ch-1), sc in each st across, rep from *, join with sl st. (154 sc, 4 ch-1)
Fasten off; weave in ends.
Assembly
- Align rectangles in a Plus + shape per diagram and “pin” together with stitch markers. Pin A to A, B to B, C to C, D to D. Use stitch markers to pin handles to bag as per diagram. “1 Start” is where Row 1 of the handle of CC will be attached. “1 End” is where the last row of the handle will be attached. Rep with 2nd handle of MC on opposite side of bag.
- Begin joining panels together as follows: join all sections with MC except the long sides of the handle of CC. Begin joining 2 panels starting at the bottom Plus + where all 4 panels meet. Work 1 tsc (see Special Stitches) in each st through both loops of each panel across. Continue tsc across edges that do not need to be joined to continue the finished edging to the corner. Change colors to CC as needed. Fasten off and attach yarn as needed beginning at the Plus + and working up. When all panels are joined, work 1 tsc in each st across all edges that do not already have edging.
- As you weave in ends, use tails to close any holes or gaps.


