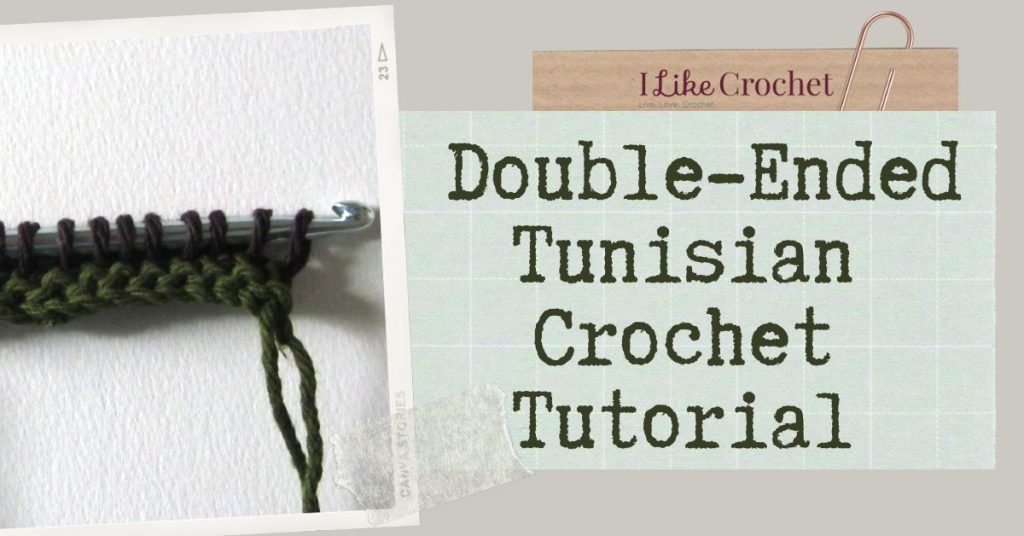
The Foundation Row
Unless otherwise indicated by your pattern, all double-ended crochet projects start with a foundation, or “set up,” row. Begin with a chain of the appropriate length in Color A.
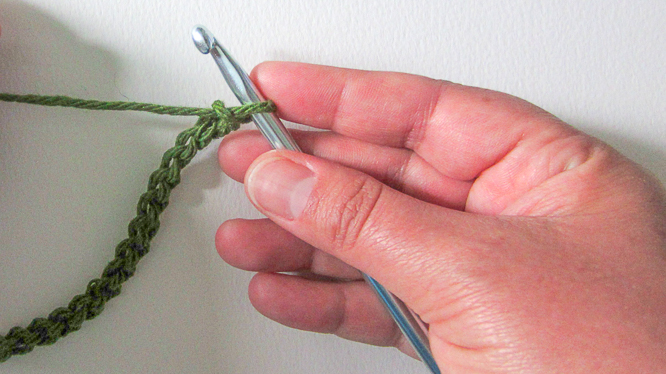
To begin picking up stitches, turn, skip the first chain, and insert your hook into the next chain.
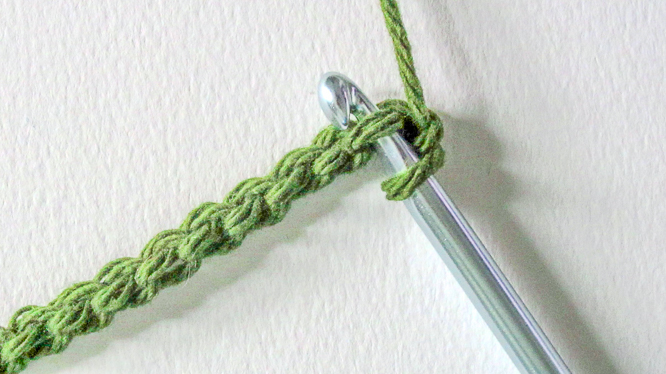
Yarn over and draw up a loop, leaving it on the hook.
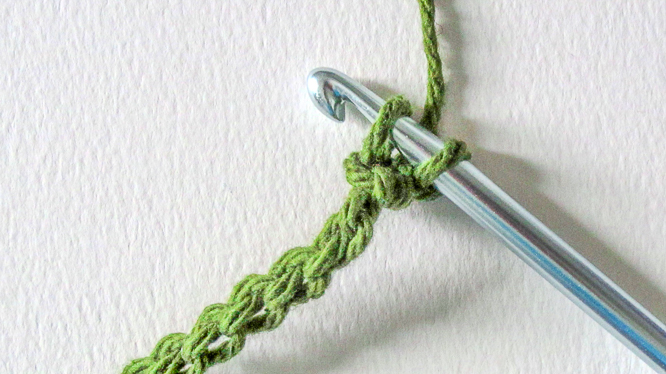
Insert the hook into the next chain, yarn over and draw up a loop. Continue this across the row. Though you skipped the first chain, the number of loops on your hook should be the same as the number of chains you started with.
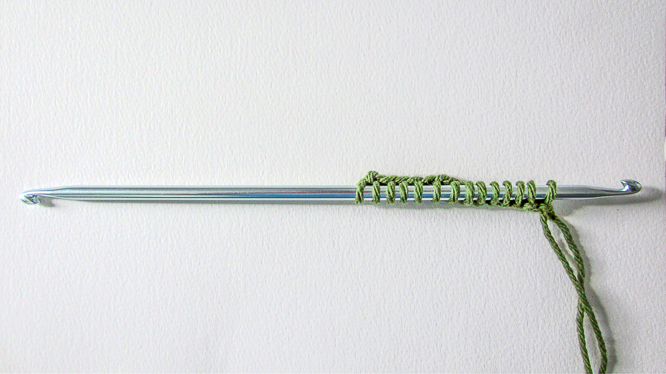
To work off the loops with Color B, slide your loops towards the hook on the other end, turn, and place a slip knot in Color B on the end of the hook.
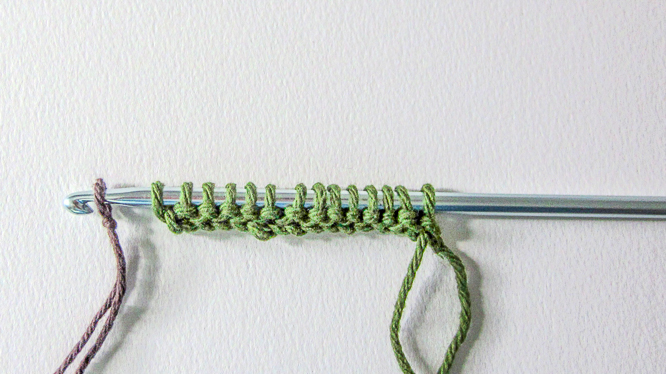
Pull the slip knot through the first loop in Color A.
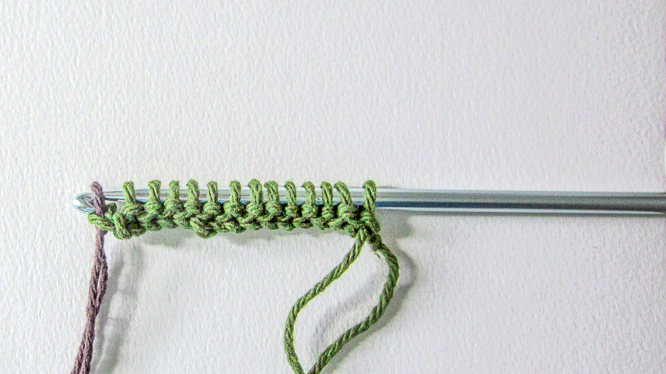
Yarn over, and draw through two loops – draw through one loop in each color. Continue this across the row.
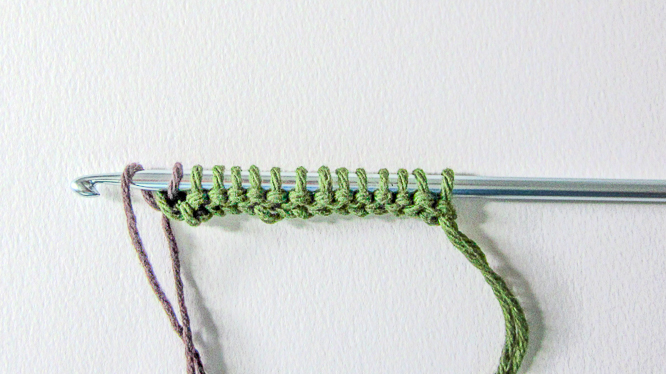
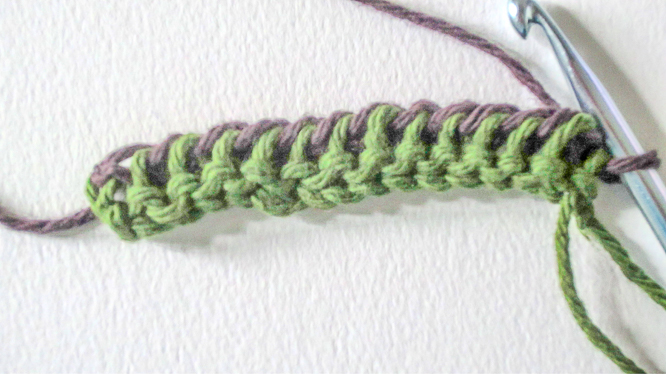
Your foundation row is now complete. At the end of this row, you will not turn your work. Instead, you will begin picking up stitches with Color B.
Picking up Stitches
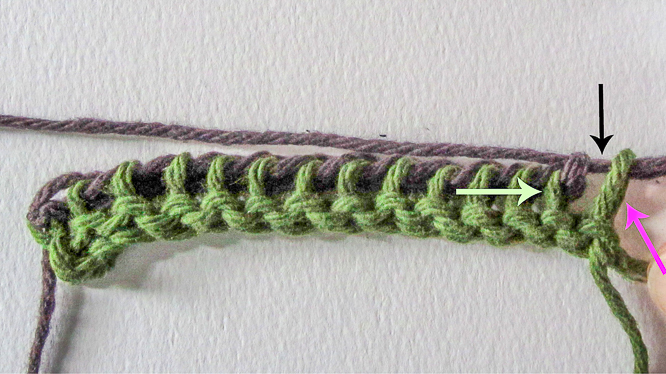 Your double-ended crochet rows include horizontal bars (underneath the black arrow) and vertical bars (indicated by the white arrow). You will always skip the first vertical bar of each row (indicated with the pink arrow, and underneath the first chain on the hook), unless your pattern indicates otherwise.
Each Double Duty Potholders/Hotpads use a different stitch. For the Tunisian simple stitch (abbreviated Tss), insert your hook under the next vertical bar, yarn over, and draw up a loop onto the hook.
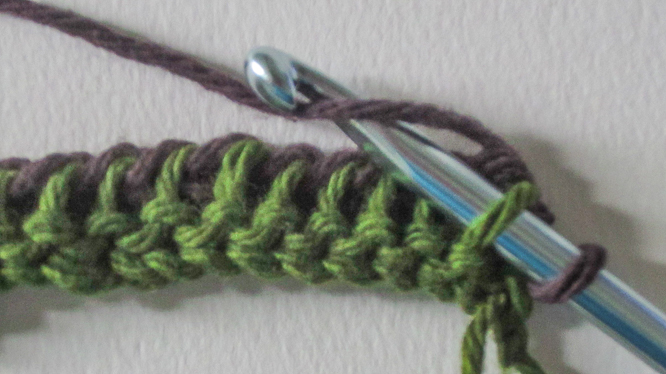
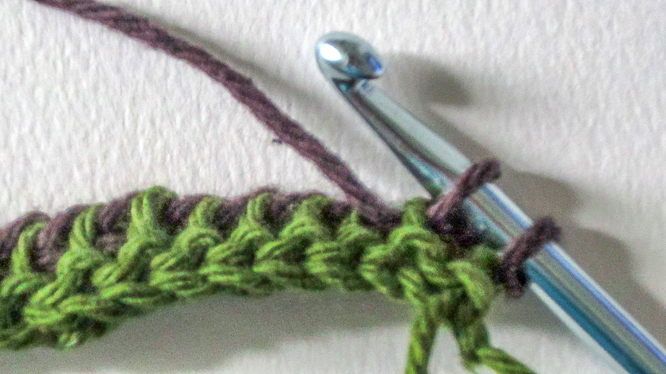
Insert the hook under the next vertical bar, yarn over, and draw up a loop onto the hook. Continue this across the row.
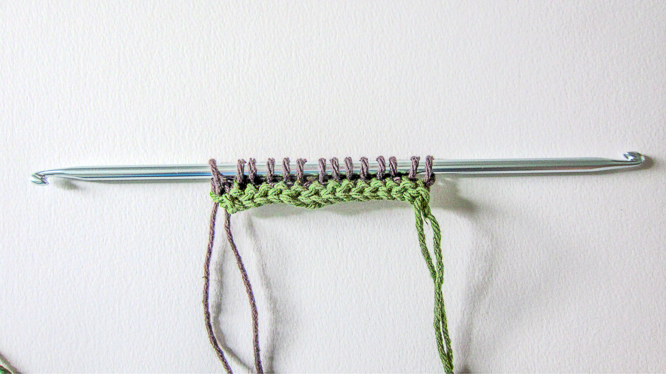
For the Tunisian full stitch (abbreviated Tfs), insert your under the next horizontal bar, yarn over, and draw up a loop onto the hook.
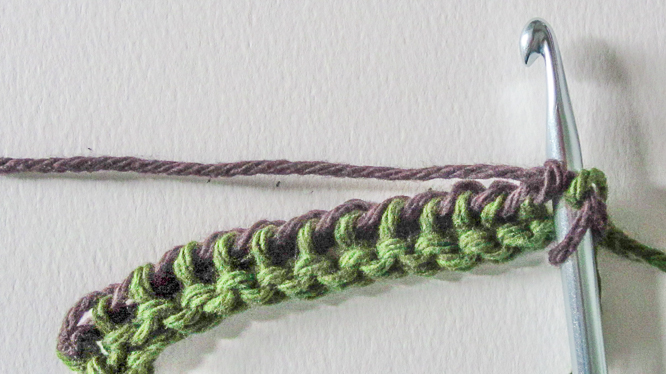
Continue this across the row to the last horizontal bar. Skip that bar (indicated by the white arrow), and Tss into the final stitch of the row.
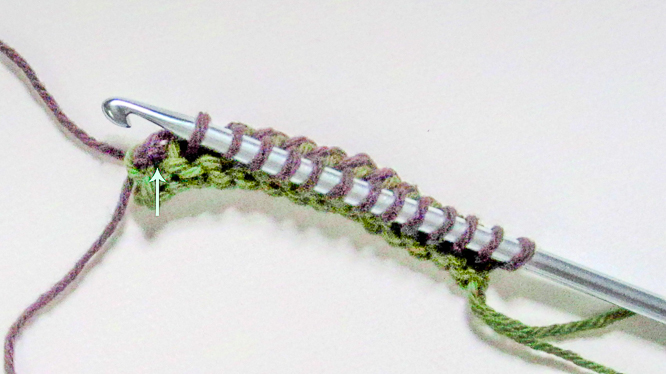
Working Off Stitches
For most double-ended crochet stitches, the process for working off stitches is the same.
Start by sliding your loops towards the other end of the hook, and turning. Your will usually work off your loops with a different color than the one you used to pick up the stitches, so your loops should be positioned near that yarn.
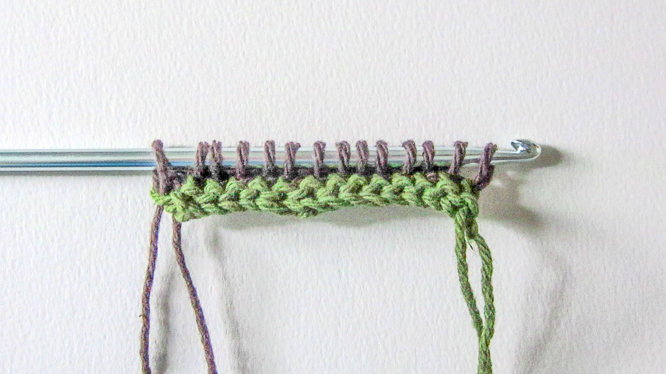
Chain 1 (or, yarn over and draw through one loop).
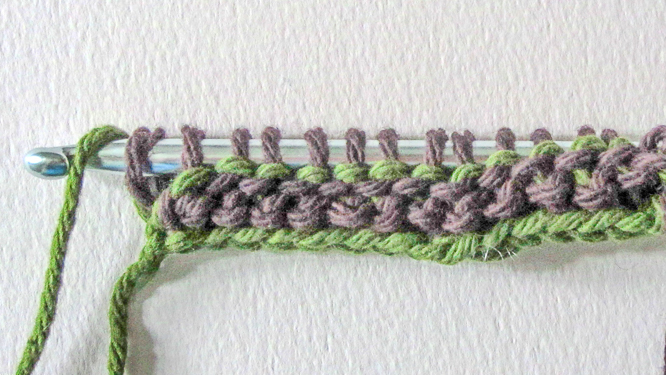
Then yarn over and draw through two loops across the row. You are now ready to pick up stitches again.
Tips for Successful Double-Ended Crochet Projects
For your first double-ended crochet project, use high contrast colors so you can readily see the difference between your rows.
For a small project, use a straight double-ended hook; for larger projects, like shawls, garments, or blankets, a flexible double-ended crochet hook may be best.
For most patterns, you will work off stitches then pick up stitches with the same color. You will only turn and use another color when you have loops on the hook. Knowing this makes it easier to know which yarn to pick up when you have to put a project down. If you just have one loop on the hook, use the same color yarn as the loop on the hook to pick up stitches. If your hook is full of loops, slide and turn to the other yarn and work off the stitches.
Now that you have the basics down, be sure to practice your skills with the Double Duty Potholders/Hotpads project in this issue! 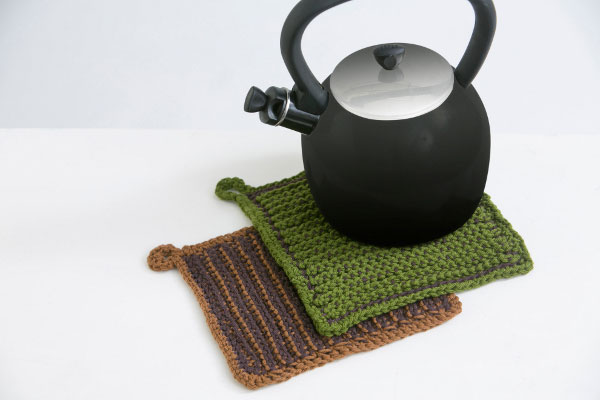


is there a video to view this as I am not able to view this . As the others have stated, the yarn is to close in colour to tlll the differance.
Hi! We’ve edited the photos now to hopefully make the stitches clearer. Hope this helps! – Nicola, Editor
Next time, please use different colored yarn. This was difficult to determine what the next step and see the beauty of the stitch.
Hi! We’ve edited the photos now to hopefully make the stitches clearer. Hope this helps! – Nicola, Editor
I could not follow the instructions as the yarns used were too close in color. My old eyes need more color contrast.
Hi Sarina! We’ve edited the photos now to hopefully make the stitches clearer. Hope this helps! – Nicola, Editor
I agree with Katherine above. It’s difficult to see the difference between the two colours being used.
Hi! We’ve edited the photos now to hopefully make the stitches clearer. Hope this helps! – Nicola, Editor
This would have been much easier to follow if you had used 2 contrasting colors so the stitches can be more easily seen.
Hi! We’ve edited the photos now to hopefully make the stitches clearer. Hope this helps! – Nicola, Editor