Join-as-you-go projects, sometimes called JAYGs, are usually joined together in the final round of each motif. In general, you join the two motifs with a single crochet (or slip stitch) in each space across the side; each single crochet stitch that joins the squares together substitutes for a chain-1 space on the unfinished square.
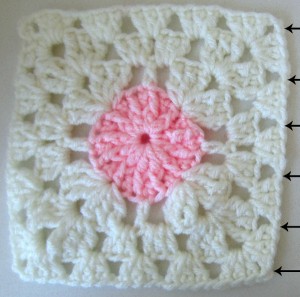
Start with one finished square. The arrows indicate where a right-handed crocheter will join with the next square, and left-handed crocheters will join the square in corresponding locations on the left side.
With the second square, crochet across one side of the final row towards the corner. Work three double crochets in the corner chain-2 space. With the right sides out (and the wrong sides of the squares facing each other), chain 1, and insert the hook into the corner of the finished square.
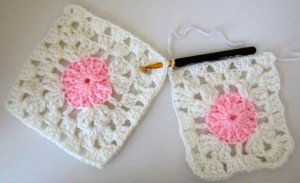
Single crochet in the corner of the finished square. This joins both squares and counts as the second chain of the corner space in the unfinished square.
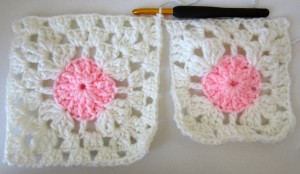
Complete the corner on the unfinished square with three double crochets in the chain-2 space.
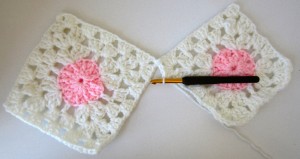
Continue crocheting across the row, working a single crochet into each chain-1 space on the finished square and between each group of three double crochets on the unfinished square to join. In the next corner, work three double crochets in the corner of the unfinished square, join the squares with a single crochet into the corner of the finished square, chain-1, and then work three more double crochets into the corner of the unfinished square.
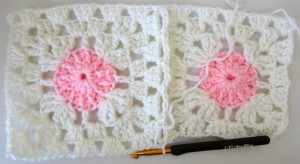
Finish the final round of the square as usual. Repeat these steps to join all the squares along the first row.
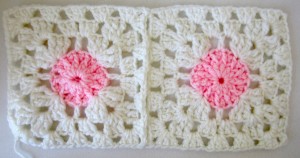
For future rows, join the first square to the previous row by repeating the steps above.

Additional squares will have to be joined on two sides, to both the row above and to the previous square in the same row. The arrows indicate where the crocheter will join additional squares on any future row.
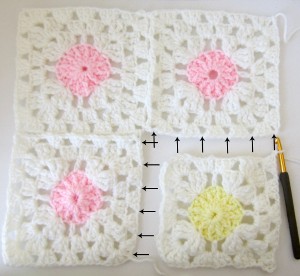
Repeat the instructions for joining two squares together until the second corner chain-2 space. Work three double crochets into the corner, then join with a single crochet into the corner space of the row above.
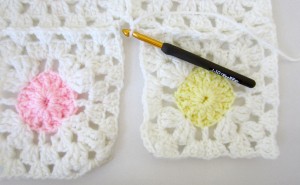
Join to the current row with a single crochet into the corner space of the adjacent square.
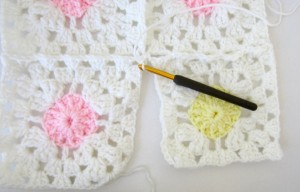
Work three more double crochets into the corner of the unfinished square, and then continue to join with single crochets to the chain-1 spaces of the adjacent square. Finish the rest of the square as usual.
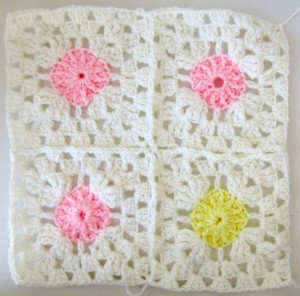
When adapting other motif patterns for the JAYG method, consider whether there are enough spaces along each side to join the motifs. If the space between joins is too far apart, the squares will not maintain their shape and there will be large gaps between the joins. While it is easier to join the first row in order and then join each additional row in order, you can adapt this method to join your squares in any order. You will need to ensure that you join any squares to all adjacent blocks, including in the same row, the row above and the row below.
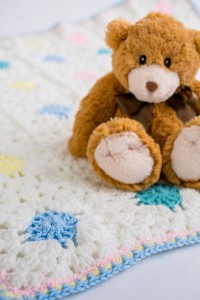
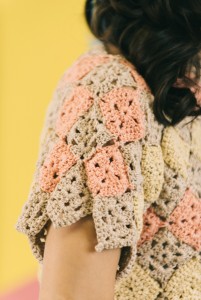
Aloha Hexagon Throw | Circle in a Square Baby Blanket | Postcard from Spring T-shirt


Thanks for this lesson. It’s very helpful. However, what if you’re not working with Granny squares? Can you still join as you go and in what spaces would you work?
I think it will really depend on the pattern itself. As mentioned above:
“When adapting other motif patterns for the JAYG method, consider whether there are enough spaces along each side to join the motifs. If the space between joins is too far apart, the squares will not maintain their shape and there will be large gaps between the joins. While it is easier to join the first row in order and then join each additional row in order, you can adapt this method to join your squares in any order. You will need to ensure that you join any squares to all adjacent blocks, including in the same row, the row above and the row below.”
-Nicola, Editor
I did it! First time after years of crocheting. Much easier than “sewing” them together.
I learnt a lot thank you
thanks for that
Hello Nicola,
Re: your previous comment, can I buy that particular magazine that has the
join-as-you go pattern, or if I subscribe to I Like Crochet, will that particular issue be included? One more question, Do you happen to have this for Left Handed crochers? I’ve been trying to watch on utube, but they go too fast.
Thanking you in advance for your time
Hello! Once you subscribe to I Like Crochet, you’ll have access to all of our archives, including this join-as-you go article and the pattern it goes with. As for left-handed crocheting, hopefully this article will help! https://www.ilikecrochet.com/magazine/crochet-articles-and-interviews/crochet-corner/left-handed/
-Nicola, Editor
Can I get joining information by mail.
Hello! Thank you for your interest in I Like Crochet magazine. At this time, we do not have printed versions of our magazine issues. As a member of I Like Crochet, you’ll be able to access all of the patterns in our archives digitally with the option to print individual patterns. Please let us know if you have any questions. Thanks! – Nicola, Editor