Skill Level: Intermediate
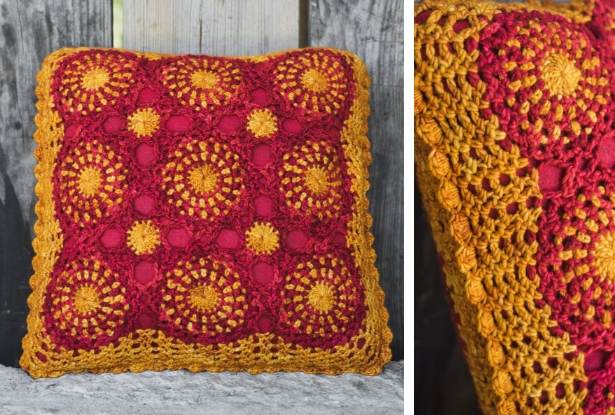
Size: 18” square
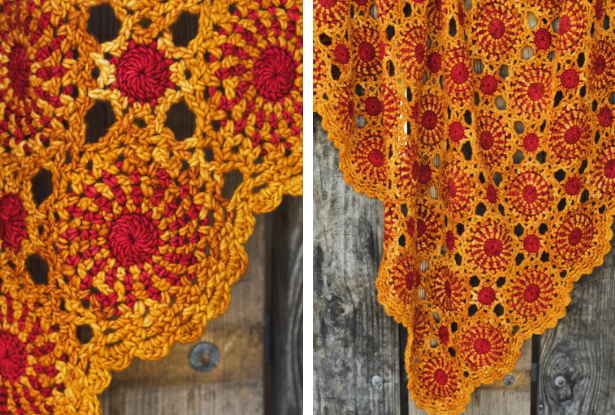
Gauge: Larger Motif = approx. 5” wide, unblocked and before joining
Gauge is not critical for this project
MATERIALS
Yarn: Malabrigo Yarn Merino Worsted (100% Merino Wool; 210 yards [192 meters]/100 grams): 102 Sealing Wax (MC), 2 skeins; 096 Sunset (CC), 2 skeins
Hook: US size H/8 (5 mm)
Notions: Removable markers (or safety pins); tapestry needle; 18” square pillow form; 5/8 yards red wool blend felt; thread to match felt; sewing needle.
SPECIAL STITCHES
Standing sc st (Standing single crochet stitch): With slip knot on hook, insert hook into designated st, yo, pull lp through, yo, pull through both lps on hook completing the Standing sc st.
PATTERN NOTES
Color changes are made by removing hook and placing loop on a removable marker so that yarn can be carried up the back on alternate rounds minimizing the number of ends to weave in later.
PATTERN
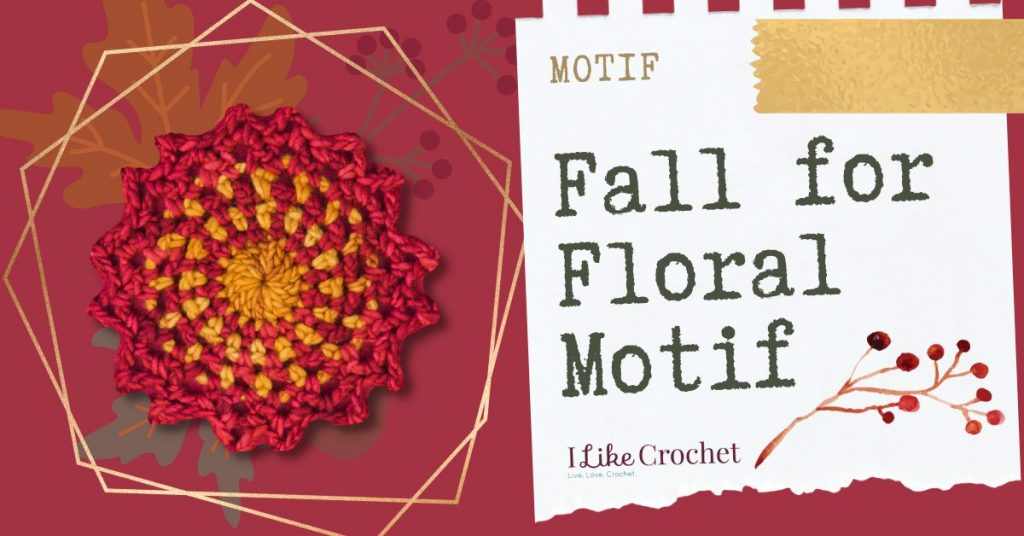
Larger Motif (make 9 for each side)
With CC, make magic ring.
Rnd 1: Ch 3 (counts as first dc), work 15 dc in ring, sl st in top of first dc, remove hook and place loop on removable marker, hold in back, pull magic ring tight – 16 dc.
Rnd 2: With MC, start with a standing sc st on opposite side of where Rnd 1 ended, ch 1, (sc in next st, ch 1) 15 times to end, sl st in top of first sc, remove hook and place loop on removable marker, hold in back.
Rnd 3: Remove removable marker from Rnd 1 and insert hook in loop, ch 1, sc in ch-1 sp made in Rnd 2 that is directly above last st made in Rnd 1, ch 1, (sc in next sp, ch 1) 15 times to end, sl st in top of first sc, remove hook and place loop on removable marker, hold in back.
Rnd 4: Remove removable marker from Rnd 2 and insert hook in loop, ch 1, sc in ch-1 sp made in Rnd 3 that is directly above the st made in Rnd 2, ch 2, (sc in next sc, ch 2) 15 times to end, sl st in top of first sc, remove hook and place loop on removable marker, hold in back.
Rnd 5: Remove removable marker from Rnd 3 and insert hook in loop, ch 1, sc in ch-2 sp made in Rnd 4 that is directly above the st made in Rnd 3, ch 2, (sc in next sc, ch 2) 15 times to end, sl st in top of first sc. Fasten off.
Rnd 6: Remove removable marker from Rnd 4 and insert hook in loop, ch 1, sc in ch-2 sp made in Rnd 5 that is directly above the st made in Rnd 4, ch 3, sc in same sp, (sc in next sp, ch 3, sc in same sp) 15 times to end, sl st in first sc.
Rnd 7: Sl st in next sp, ch 1, sc in same sp, ch 3, sc in same sp, (sc in next sp, ch 3, sc in same sp) 15 times to end, sl st in first sc. Fasten off.
Note: The above instruction for Rnd 7 is for the first motif only. Connecting motifs are joined as follows:
Rnd 7 (Connecting Rnd): Work same as Rnd 7 above until reaching side of motif to join, (sc in next sp, ch 1, remove hook from loop and insert hook (front to back) in corresponding ch-3 sp on motif being joined, insert hook into loop and draw through ch-3 sp, ch 2, sc in same sp) twice, motifs are now joined on one side. Continue around as written in Rnd 7 above. If more motifs need to be joined, rep between ( ), ending with sl st in first sc. Fasten off.


Yes please I also would love love to see a video tutorial on this fabulous Afghan. I just love love all retro and Hollywood regency style
I would like to see a video on how this is done. Not quite sure about the holding the loop on back. Unfortunately, I am one of those people that benefits by being shown instead of reading
Hi Kathryn, I do not believe a video exists for this pattern at the moment, but we will keep it in mind! – Nicola, Editor
Muy linda flor