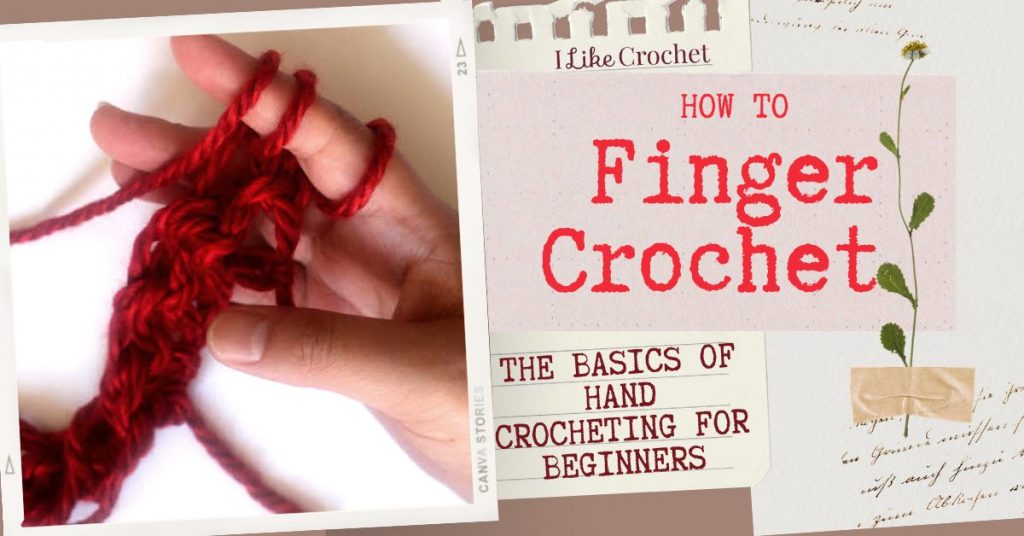
What is Finger Crochet?
Do you know how to finger crochet? Finger crochet is a great way to enjoy crochet when you don’t have a hook on hand (or, when your hook isn’t the right size for your yarn). It’s also a great way to teach crochet, since your fingers only have to focus on the mechanics of the stitches and not on how to hold the hook. Since your fingers are probably relatively thick when compared to crochet hooks, start with bulky or super bulky yarns.
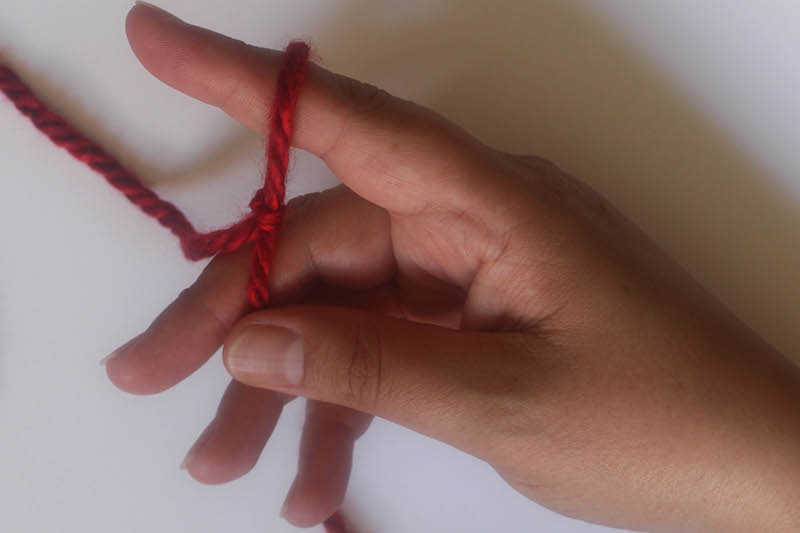
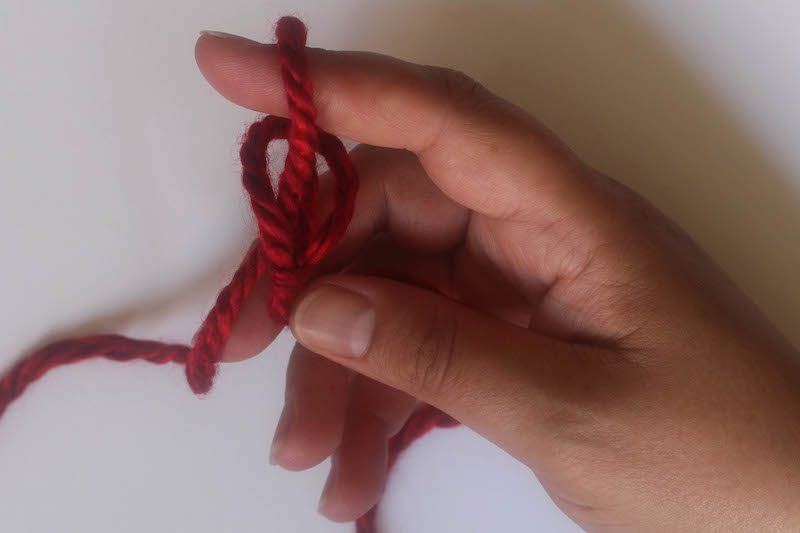
Once you have your yarn selected, start with a slip knot on the forefinger of your dominant hand (i.e., with your right hand if you’re a righty or your left hand if you’re a lefty). Leave the slip knot loose.
Make a foundation chain
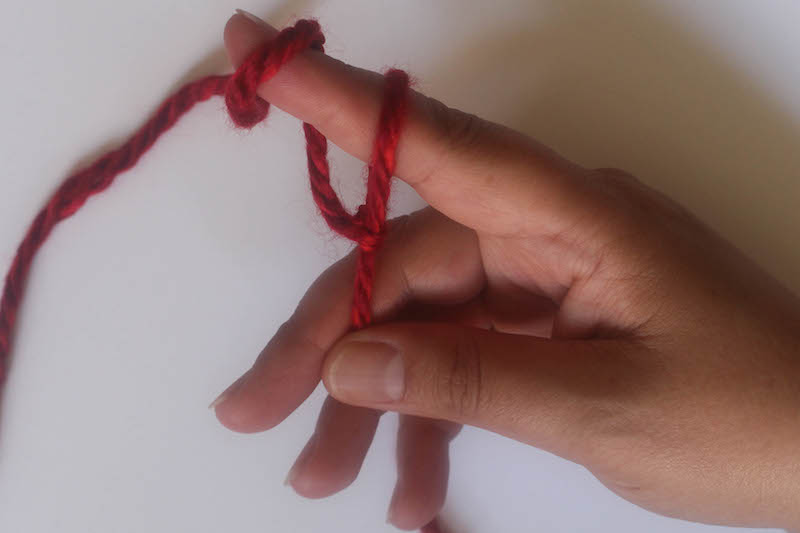
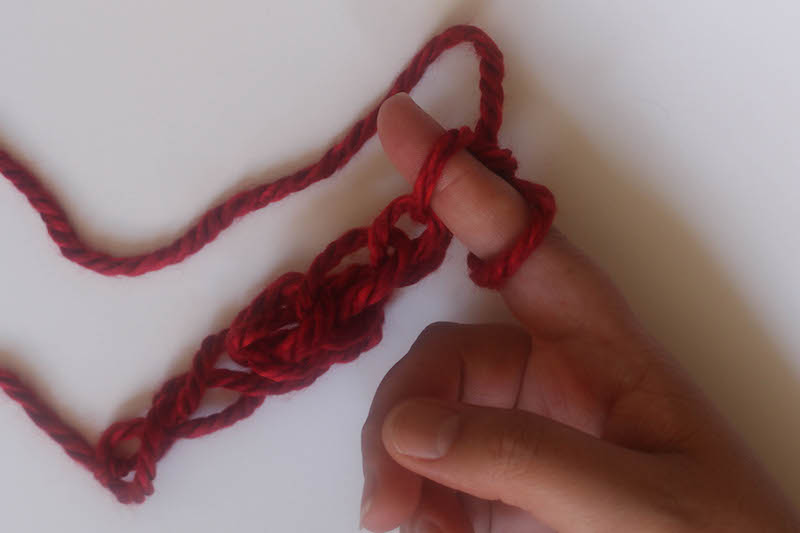
With your other hand, wrap the yarn over your forefinger from back to front. This step is like a yarn over (yo) in standard crochet.
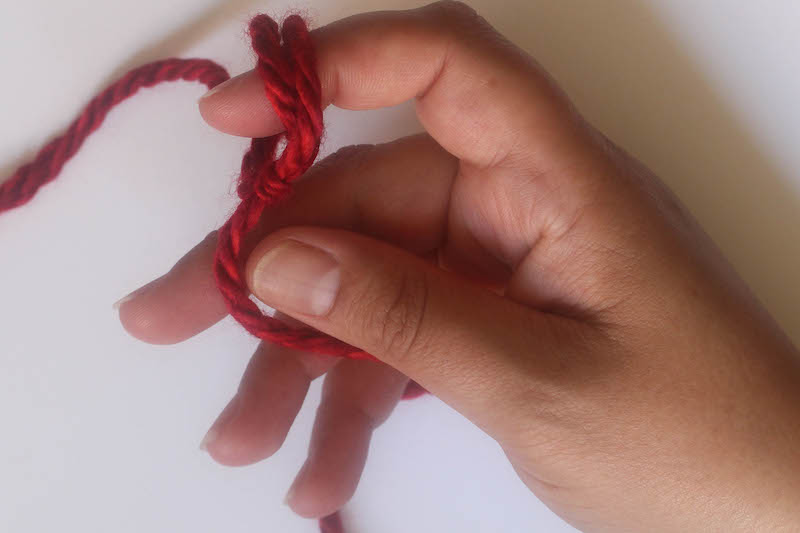
Bend your forefinger and draw the yarn through the loop already on your finger. You may need to use your other hand to help pull the yarn through.
You’ve made a chain!
Continue these steps until the foundation chain is as long as you’d like for your project.
Make single crochet stitches
To continue learning how to finger crochet, it’s time to move on to single stitches.
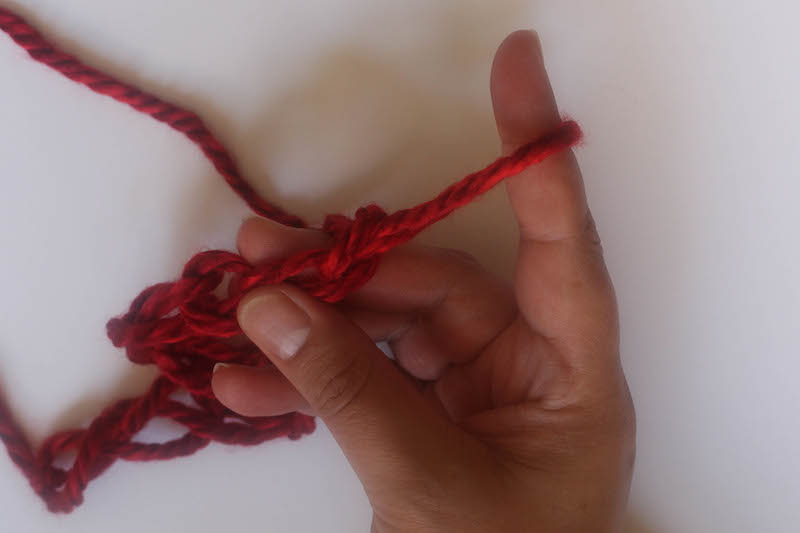
Skip the first chain. (The loop on your finger doesn’t count as a chain, so skip the first one that’s off your finger.) This step is like skipping the turning chain (t-ch) in standard crochet.
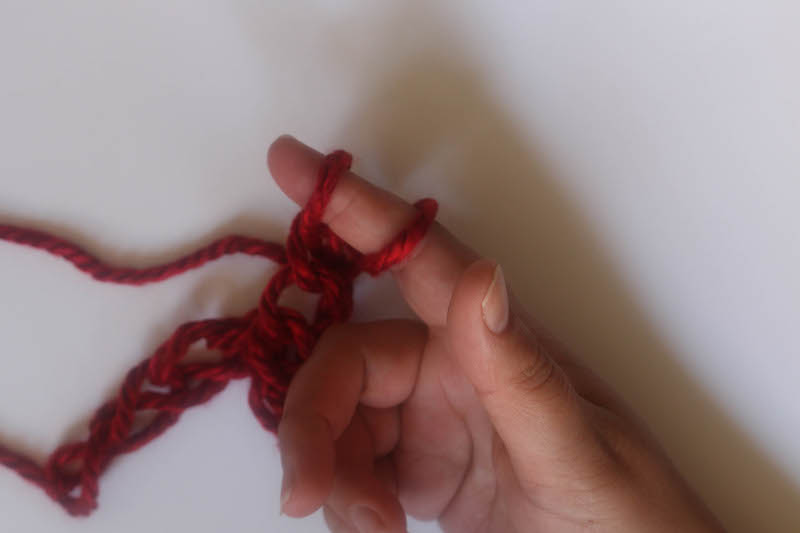
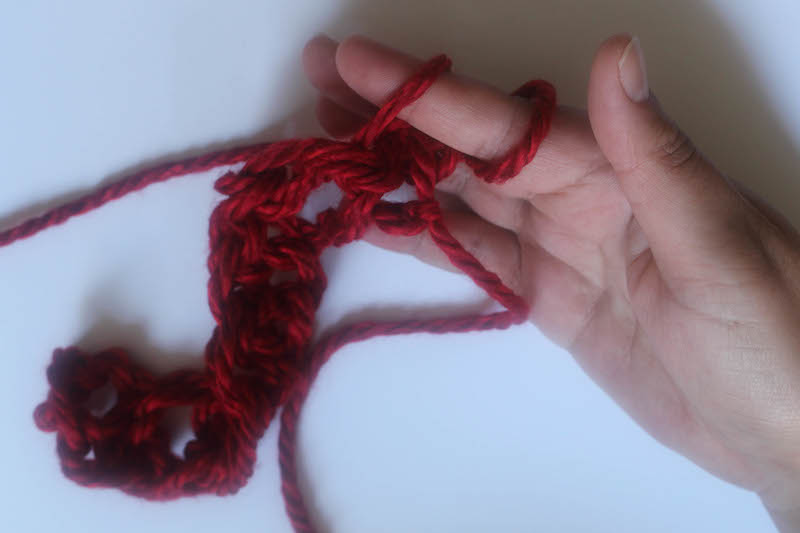
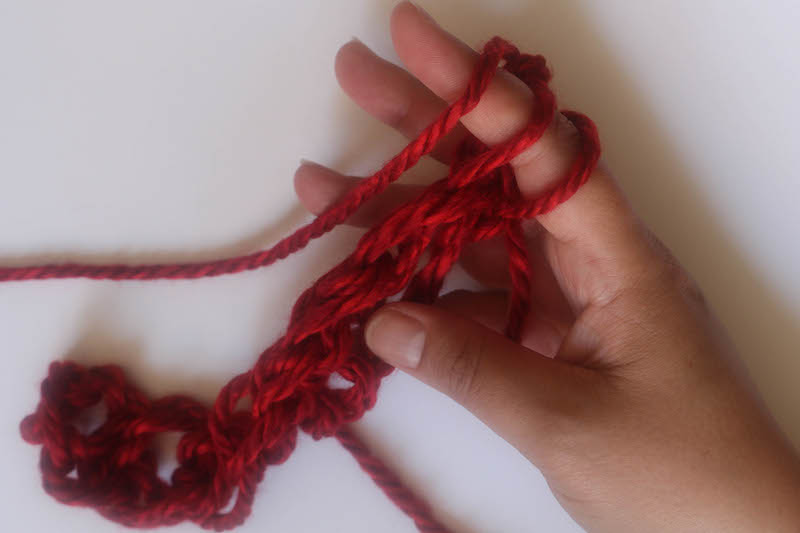
Insert your forefinger into the next chain.
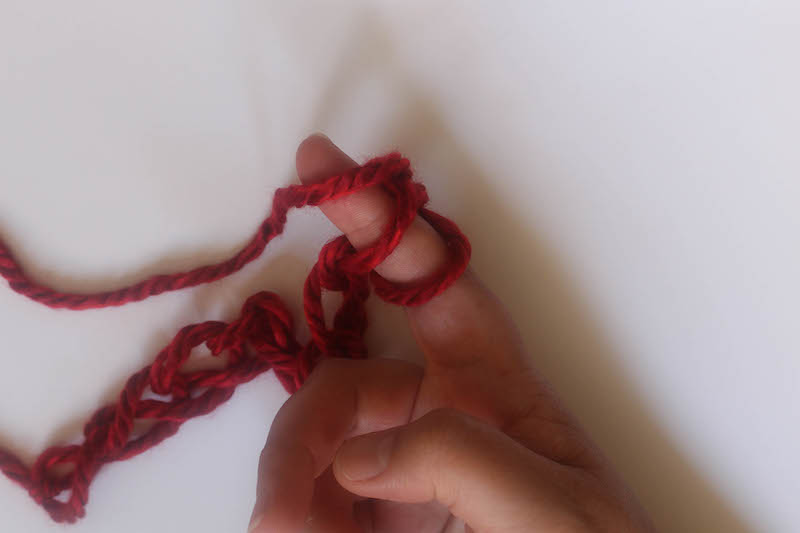
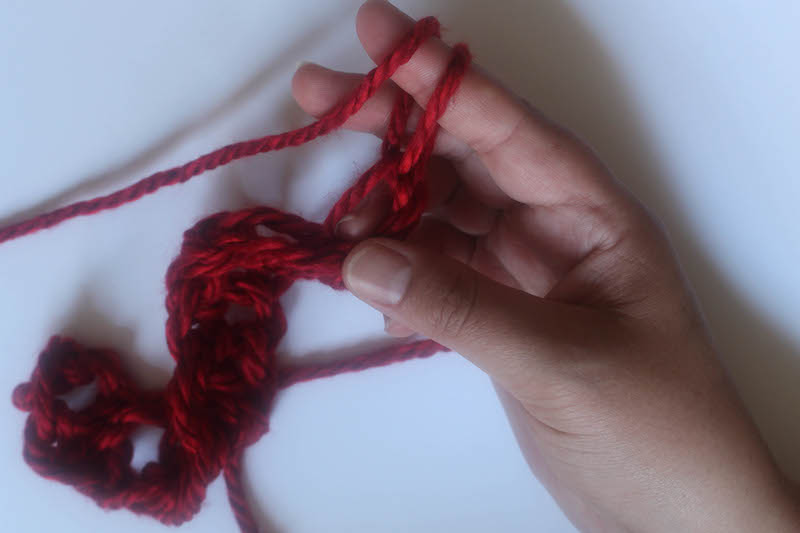
With your other hand, wrap the yarn over your forefinger.
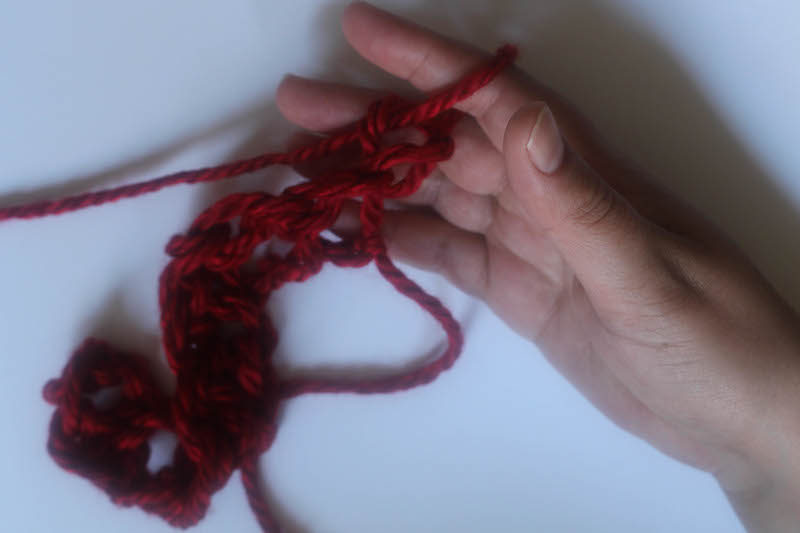
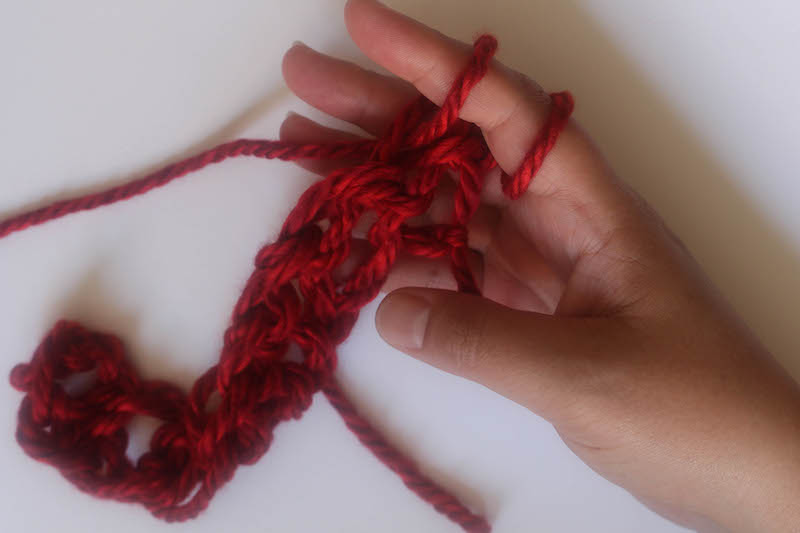
Draw the yarn through the first loop on your forefinger. You should still have two loops on your finger.
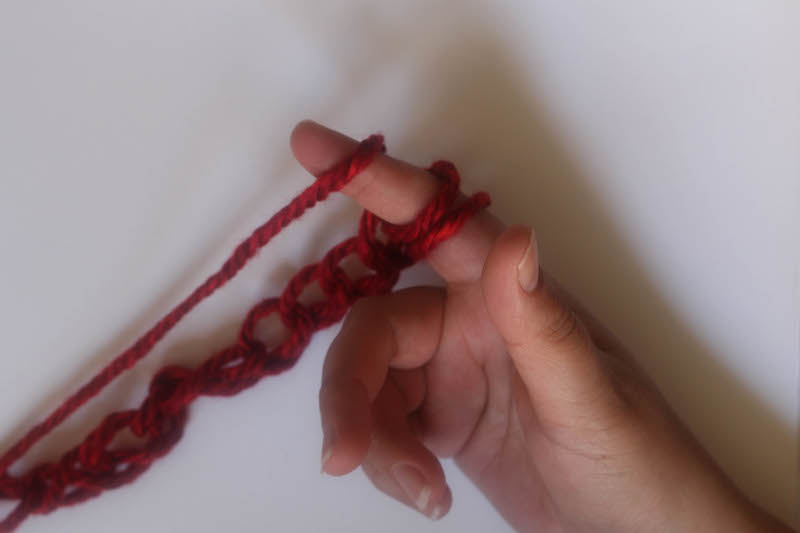
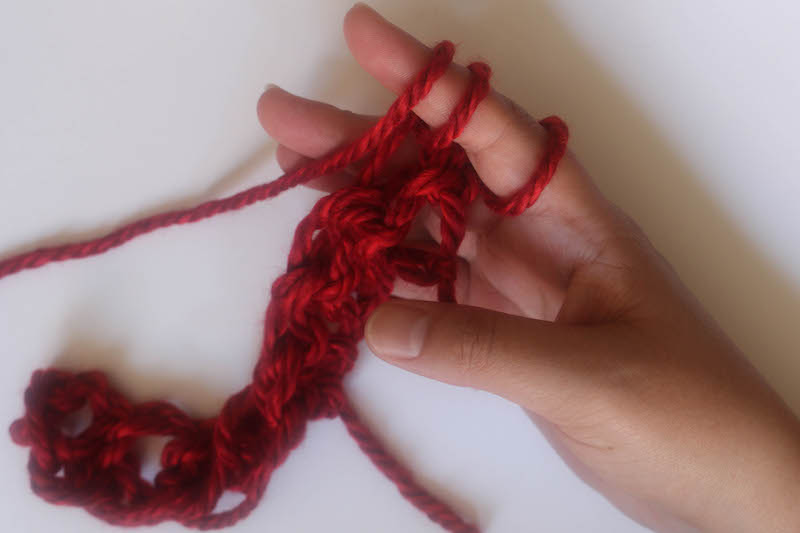
With your other hand, wrap the yarn over your forefinger.
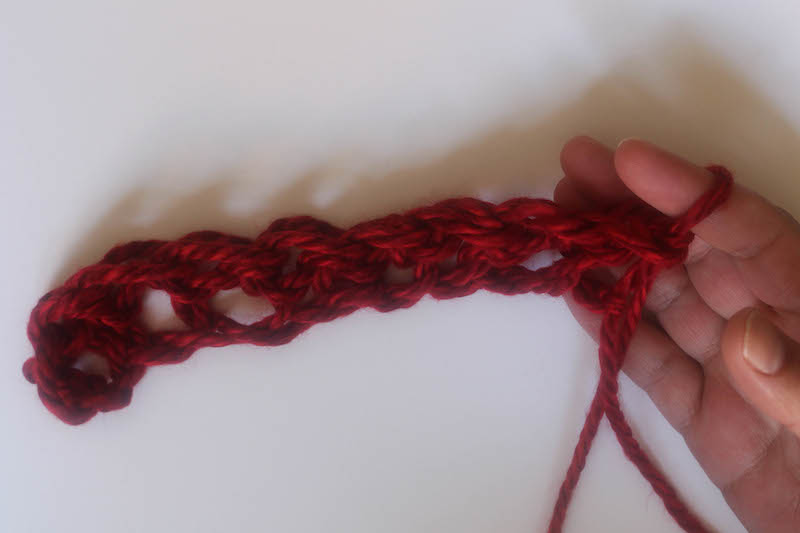
Pull the yarn through both loops on your finger. You’ve made a single crochet!
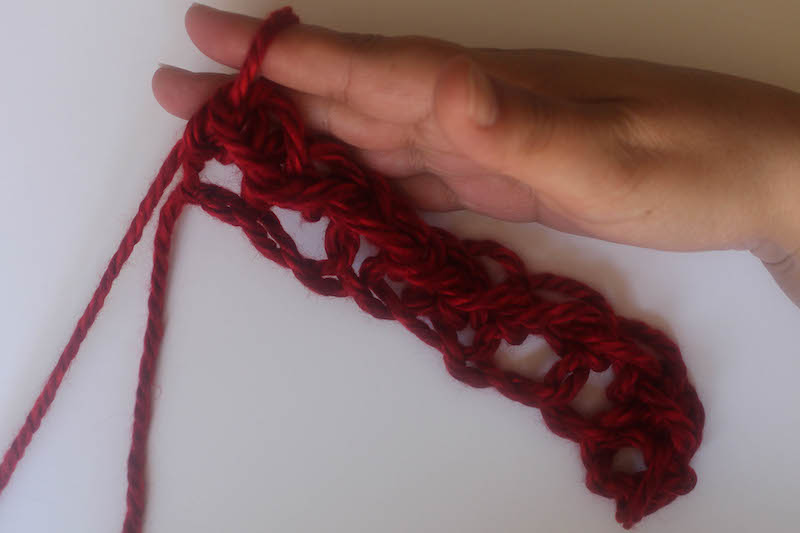
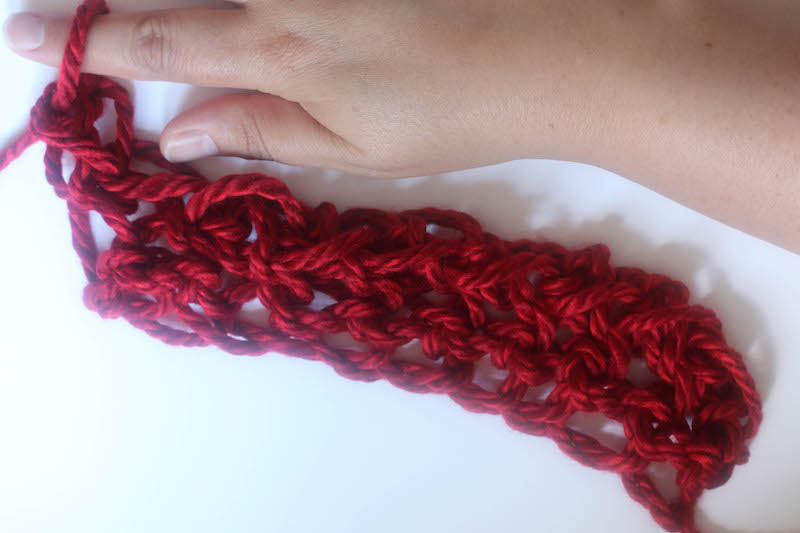
Insert your forefinger into the next chain. With your other hand, wrap the yarn over your forefinger. Draw the yarn through the first loop on your forefinger. You should still have two loops on your finger. With your other hand, wrap the yarn over your forefinger. Pull the yarn through both loops on your finger. Repeat these steps across until you have a row of single crochet stitches.
Making the Next Row
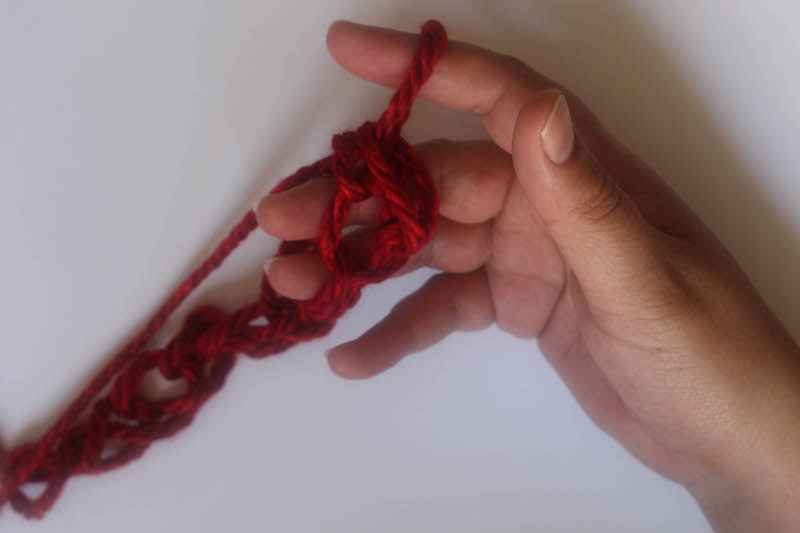
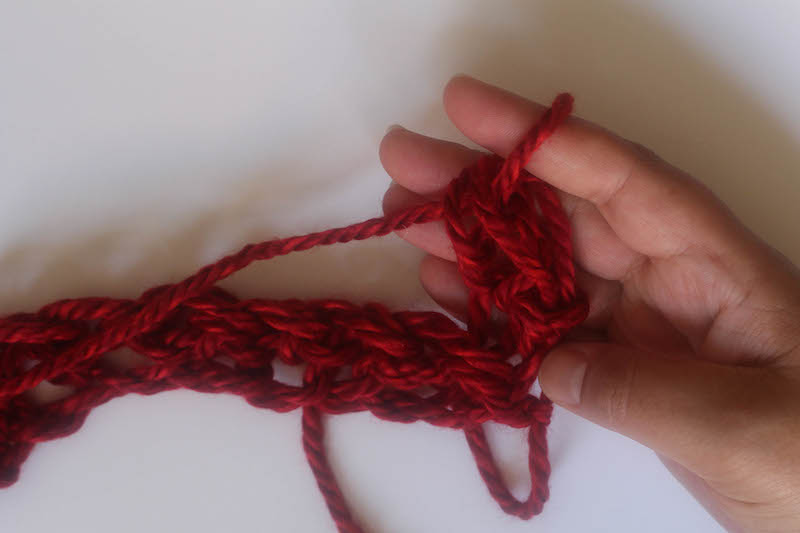
To make the next row of single crochet stitches, turn.
Make a chain by wrapping the yarn over your forefinger…
and draw the yarn through the loop on your forefinger.
Repeat these steps for working a single crochet by inserting your forefinger in the next (first) stitch.
With your other hand, wrap the yarn over your forefinger.
Draw the yarn through the first loop on your forefinger. You should still have two loops on your finger.
With your other hand, wrap the yarn over your forefinger.
Pull the yarn through both loops on your finger.
Repeat these steps until you have as many single crochet stitches as you need for your project.
When you’re ready to finish off your project, cut the yarn, leaving about 5” of yarn tail. Draw that short end through the last loop on your finger to finish off. Use a yarn needle or crochet hook to weave in the yarn tails.
The possibilities are endless with finger crocheting, but it makes especially great bulky scarves and shawls! 
If you’re interested in teaching crochet to kids, this a great first step, but if you’re ready to get a little more complex, check out our article on How to Teach Kids to Crochet.


Fantastic Idea!
Thank you so much I have a middle school grand child that is left handed thinking with this simple direction we can finger crochet.
I’m going to try this with my middle school students! Thanks for a great tutorial!