I’m Marie Segares from Underground Crafter, and I love to play around with new and exciting yarns. In the last few years, the availability of independent yarns has exploded. Every crocheter now has more access to hand-dyed yarns, handspun yarns, and yarns imported in small batches than ever before.
One thing that crocheters may find intimidating about buying yarn from independent companies is that it often comes in a hank and isn’t wound into a ball or a cake. When working on any crochet project, many crocheters agree that winding your yarn into a ball or a cake is much easier than working from a hank of yarn. The reason is that by working from a yarn cake, your yarn won’t get tangled easily. Winding yarn also lets you pull your working yarn from the center, which many crocheters say is a much more smooth way to work.
In this tutorial, I’m going to show you how to wind yarn into a cake using a yarn swift and a yarn winder.
- Start with a yarn swift (at left) and a ball winder (at right).
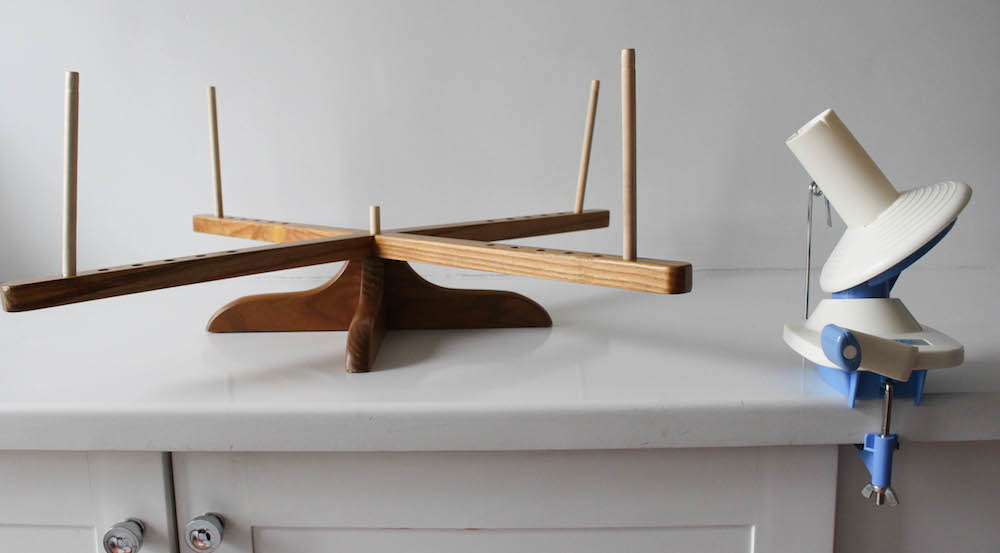 I use an “Amish-style” yarn swift. It’s made of wood and can be easily assembled and then put away just as quickly (which is perfect for apartment living). Follow the instructions for assembling your swift and winder, and set them up close near each other on a flat surface.I use a hand-cranked ball winder. It’s much quieter (and smaller) than the electric versions, and I can control the tension and speed that I’m using to wind the yarn. Be sure that it is tightly clamped onto the surface you are using to wind the yarn.—
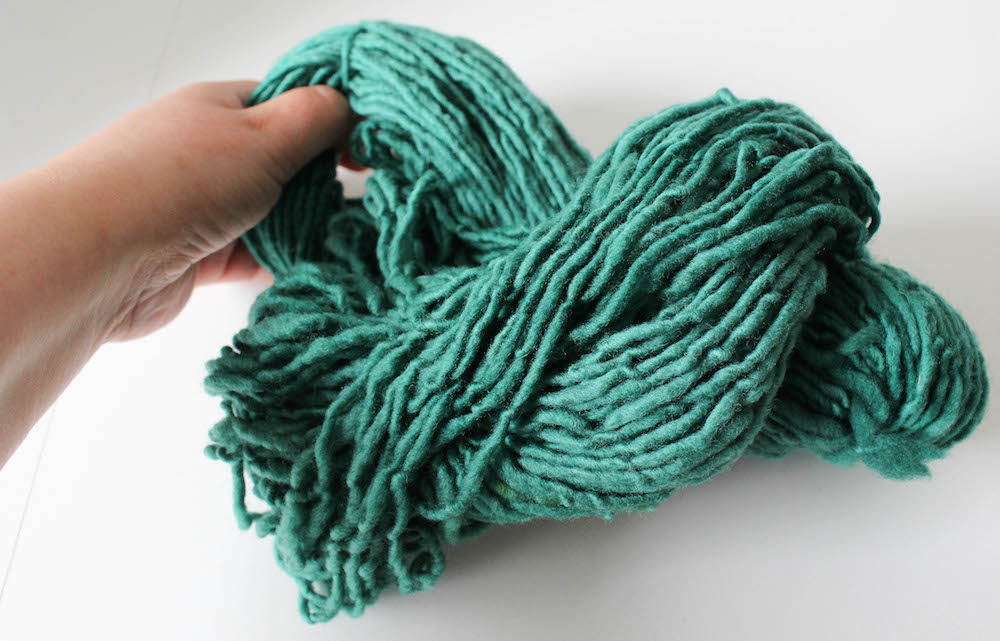
 - Gently separate the hank of yarn by pulling it out from where it’s folded, being careful not to pull the strands apart.
 —
— - Place the hank on your swift. Most swifts have multiple pegs to adjust the size of the yarn hank. Use the size where the fit is snug, but not too stretched out.
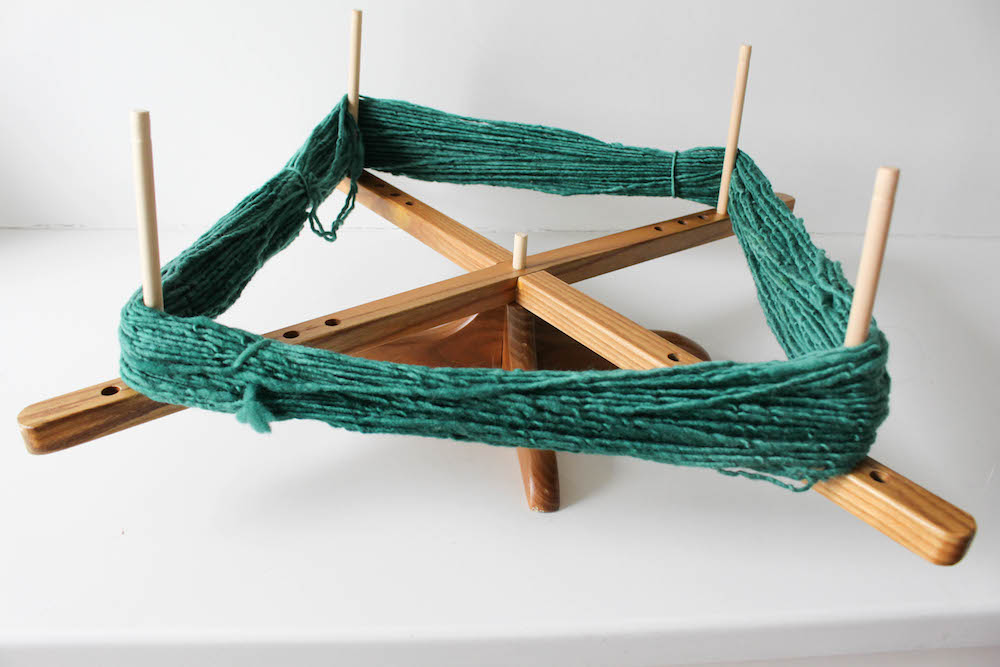
- After you have the yarn positioned on the swift, cut the ties. Be careful because at least one of the ties is usually formed with yarn from the hank!
 —
— - Look over the yarn once more, and adjust it if necessary so that there aren’t any twists in it.
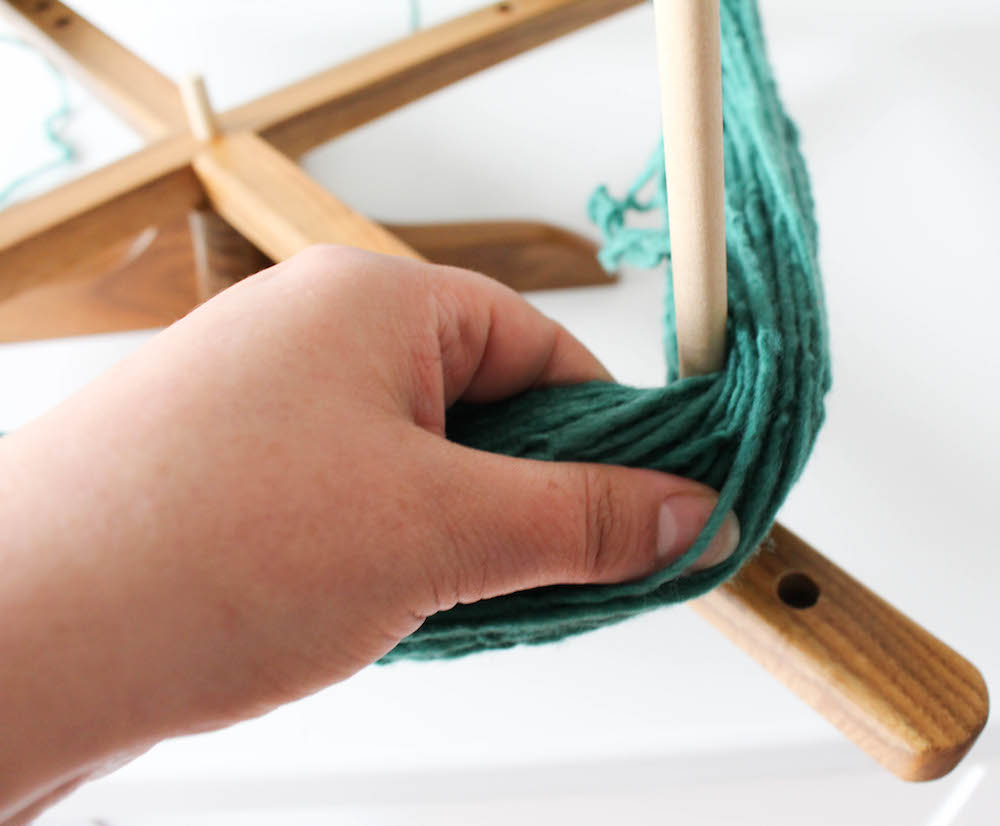 —
— - Thread the yarn through the stabilizer on the winder.
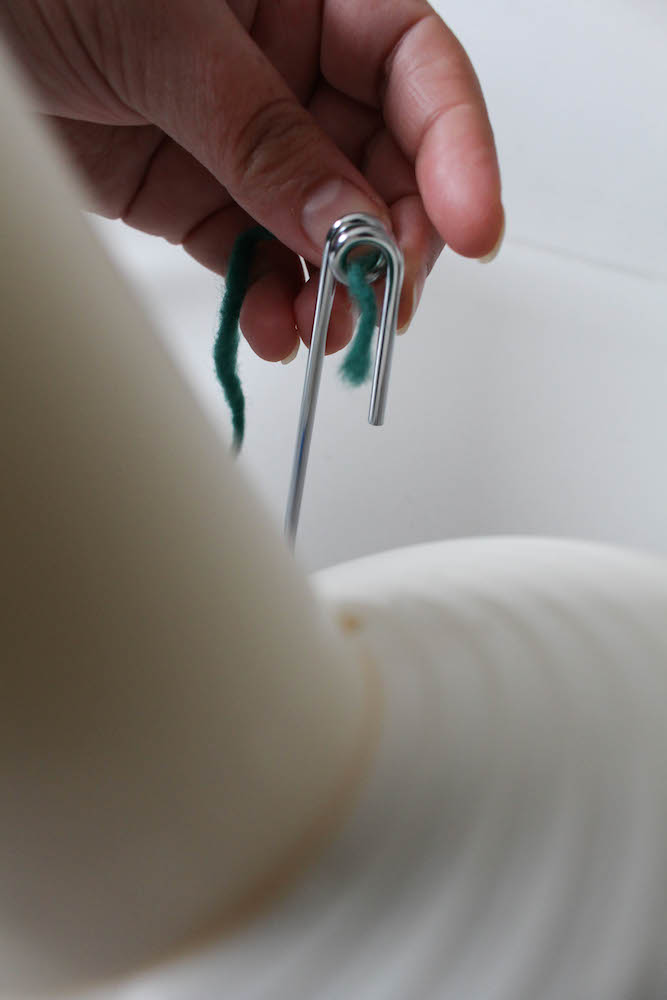 —
— - Stretch a small length of yarn over the top of the winder. (This will be the center pull strand once your yarn is wound.)
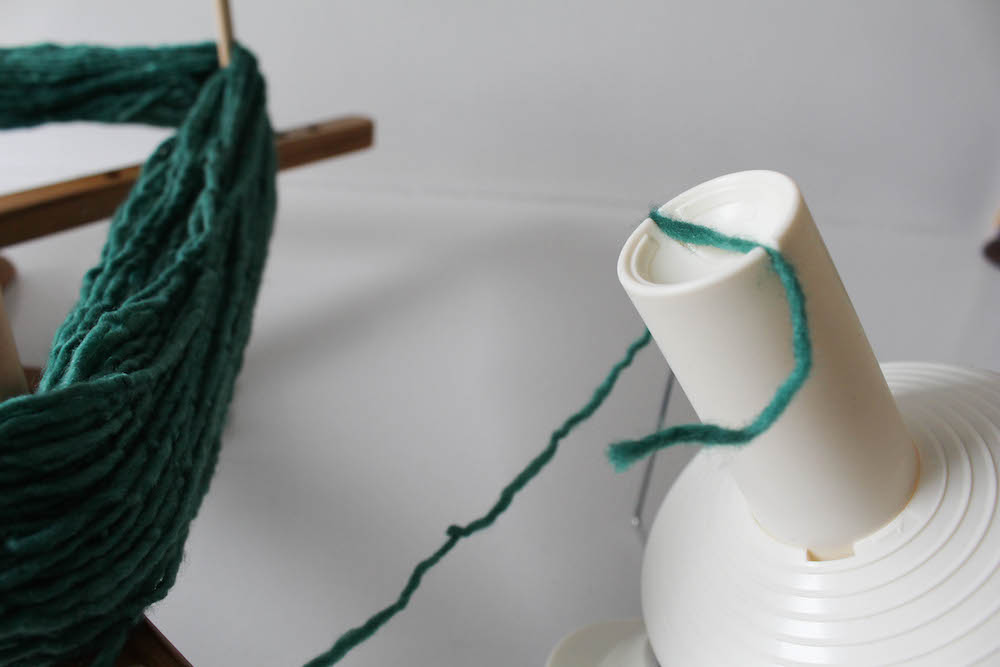 —
— - Start cranking your yarn winder clockwise.
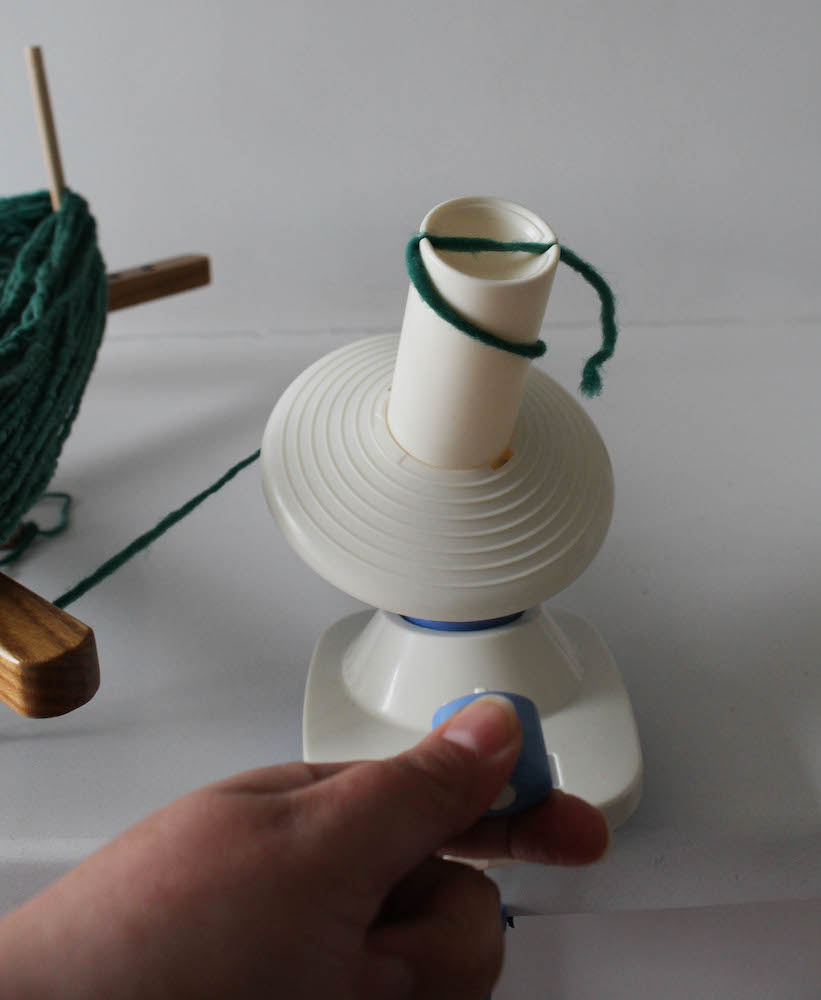
— - Once you feel comfortable, you may crank even faster.
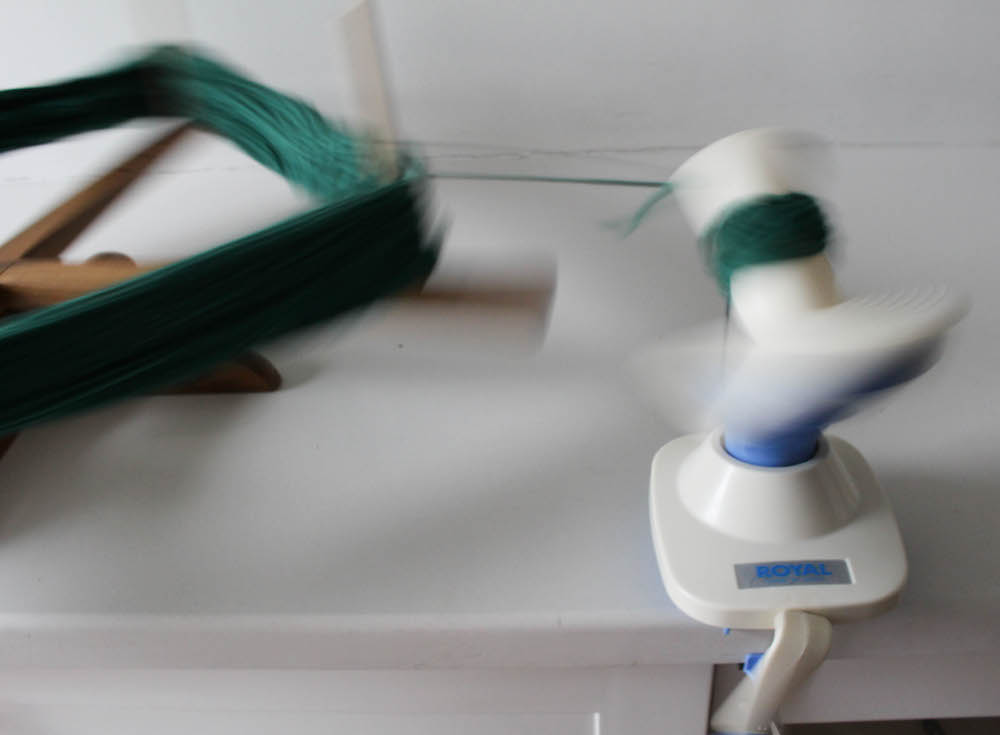 —
— - Be sure to slow down periodically, especially as you get to the end of the yarn, to check for tangles.
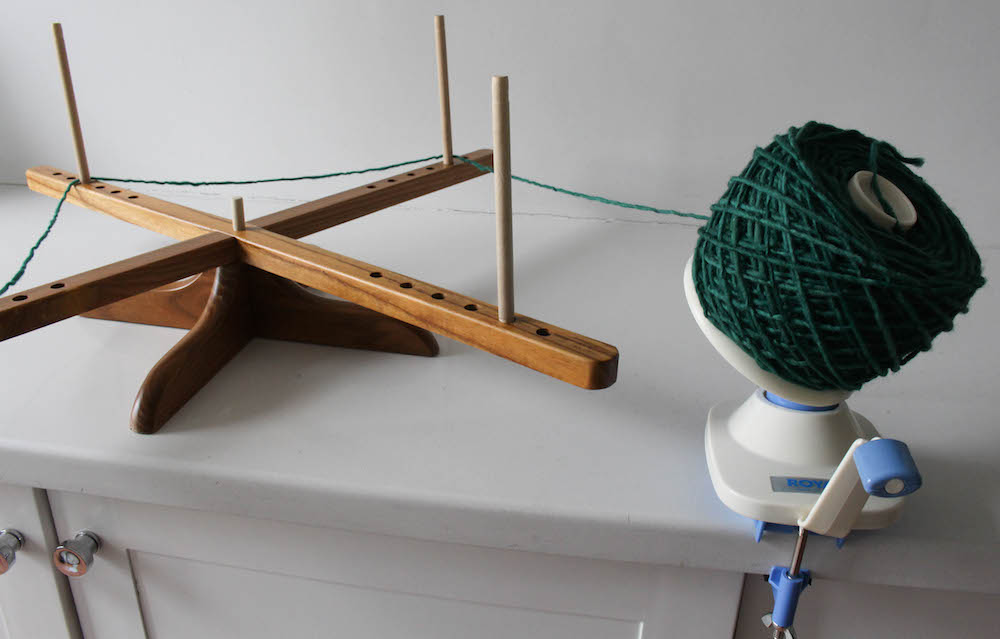 —
— - Once the yarn is wound, gently remove the “yarn cake” from the winder.
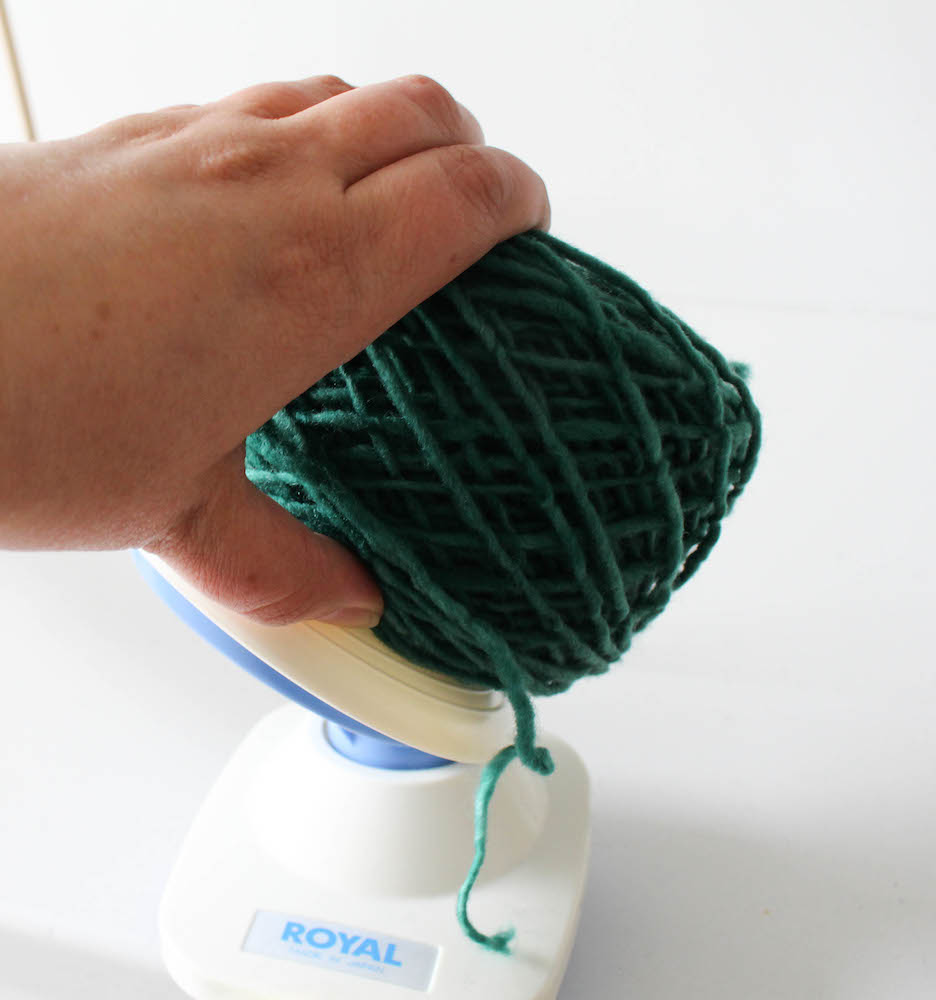 —
— - I like to tie the label to the outside strand of yarn so that I can identify it later!
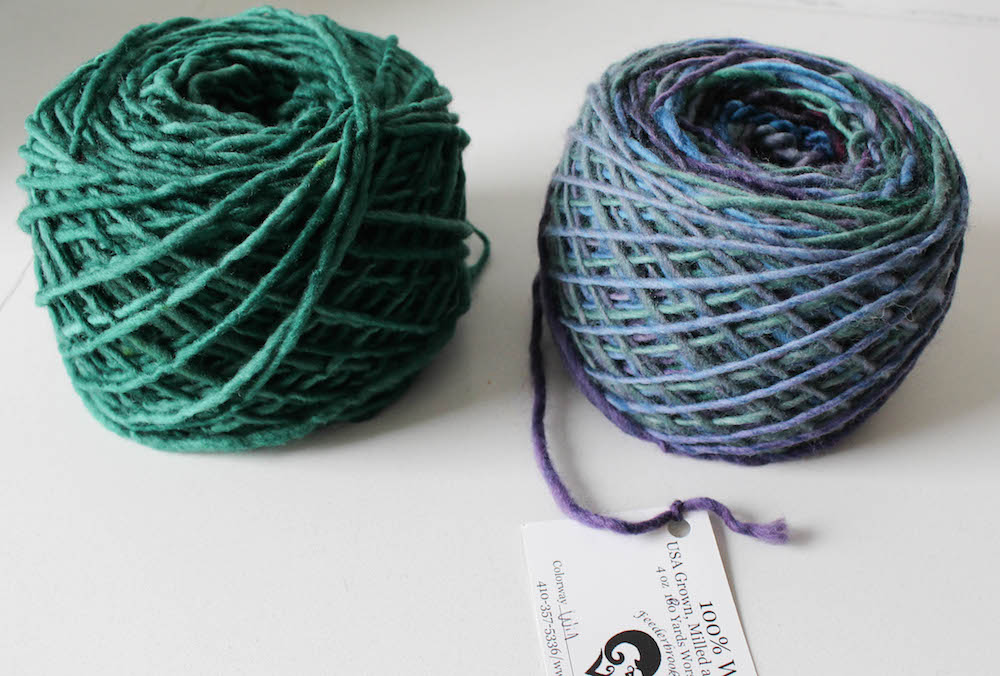 —
— - Don’t forget that your “yarn cakes” can pull from the center.
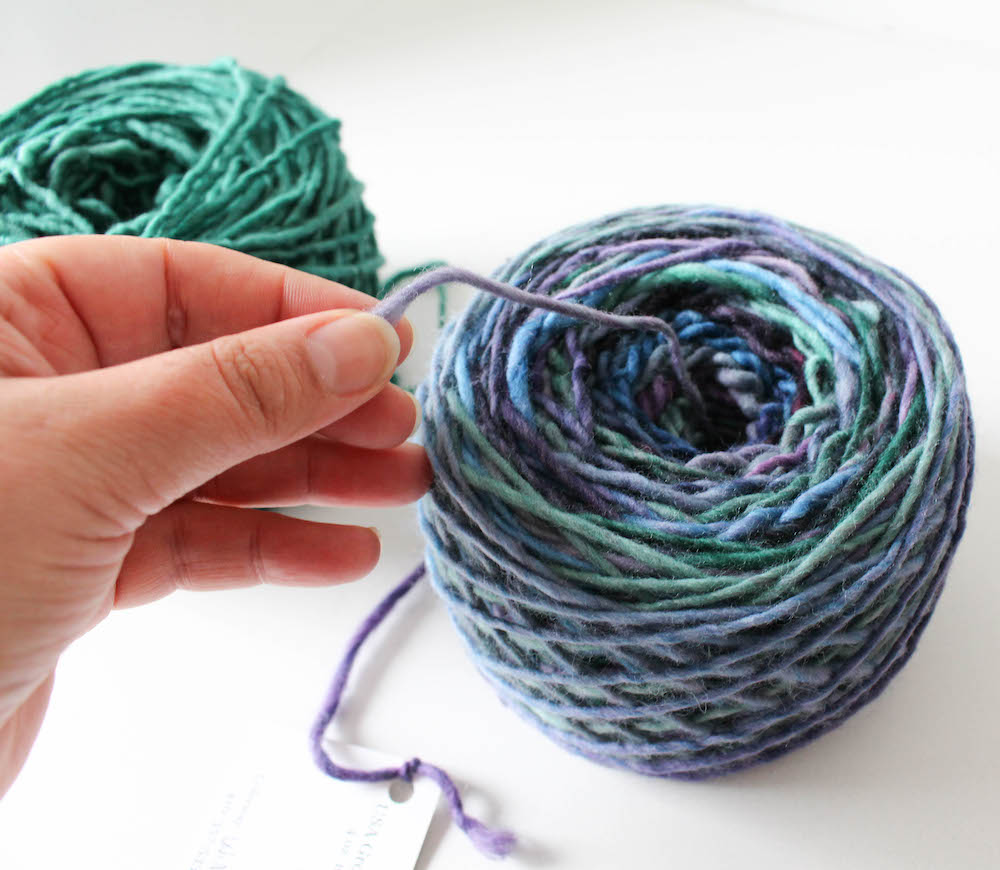
The flat bottom makes the “yarn cake” easier to use than a ball of yarn. It sits flat and you don’t have to worry about it rolling away.
Now that you know how to wind your own yarn, go shopping for some indie yarn! You can find lots of options in local yarn shops, at regional fiber festivals, or through online marketplaces.


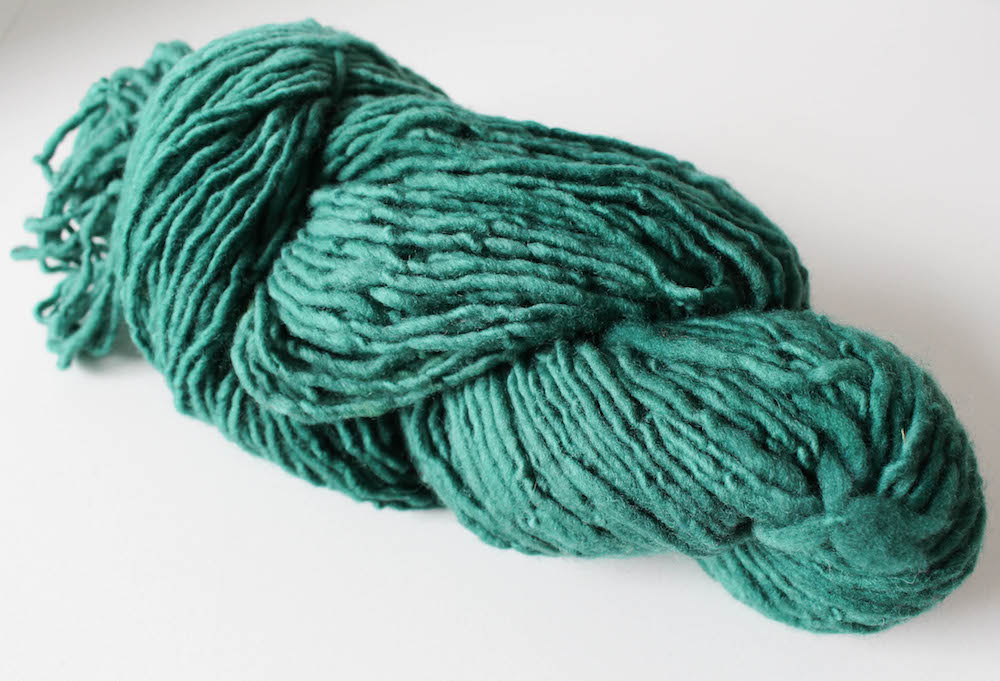
The yarn swift is only useful if the hank of yarn purchased is in that form. Otherwise there is an added step to getting it onto the swift.
Also from Crochet.com or KnitPicks
Thanks for this. I have an umbrella swift but have been wanting to replace with an Amish swift.
this looks like a good idea for any yarn if you take your time. I hate trying to untie knots from my yarn,Thank you
Thanks for a great straight forward article. My mom recently encouraged me to use a winder but only more recently found someone to explain the swift.
I like the cake as it unwinds easier in a bowl.
Where can I get this yarn cake winder and yarn swift winders?
Hi! I would try Esty. The yarn swift looks to be called an “Amish” design, here’s a similar one: https://www.etsy.com/listing/850137106/chiaogoo-1098-amish-design-wooden-yarn
And here’s a ball winder that looks similar: https://www.etsy.com/listing/57977138/stanwood-needlecraft-yarnfiberwoolstring
Hope this helps! – Nicola, Editor