Make an Adjustable Ring
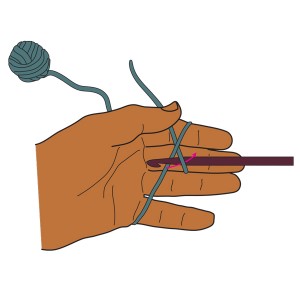
1. Hold the yarn a few inches from the end and wrap it around your fingers.
Read MoreIf you’re confused about the basics of crochet, this section is just for you! Learn about crochet basics and see diagrams of the most basic crochet stitches – soon you’ll be able to follow along with any pattern! These instructions are broken down, step-by-step, to guide you through each stitch with ease.
These crochet basics are truly the foundations of most patterns. Even the most intricate stitches and most complicated patterns use these most basic stitches and techniques as a base.
If you’re serious about learning crochet, take the time to study these basic stitches – soon you’ll be able to tackle more and more complicated patterns with ease!

1. Hold the yarn a few inches from the end and wrap it around your fingers.
Read More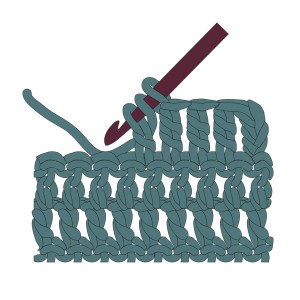
1. Chain four to start your row. Yarn over twice and insert the hook into the stitch next to the base of the chain.
Read More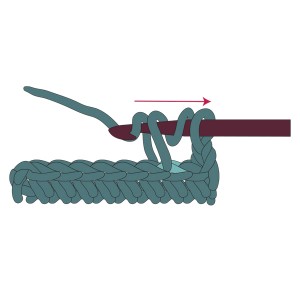
1. Yarn over and insert the hook under the V of the 3rd chain stitch from the hook.
Read More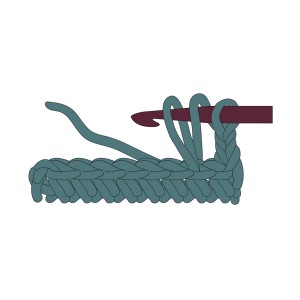
1. Yarn over and insert the hook under the V of the chain stitch from the hook. Yarn over again and pull the yarn through the V.
Read More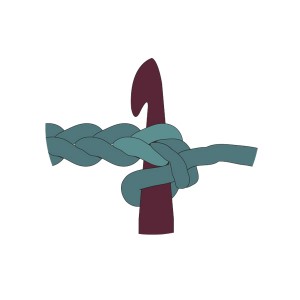
1. Insert the hook under both front and book loops (or, under the complete “V”) of the 2nd chain from the hook. Wrap the yarn over the hook from back to front (yarn over) and draw it through the V.
Read More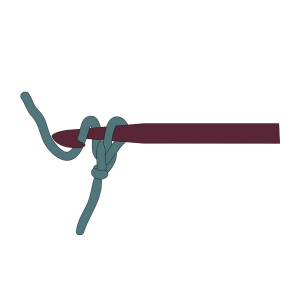
1. Make a slipknot and position it near the end of the hook. Wrap the working yarn (yarn that is attached to the ball) around the hook (also called a yarn over).
Read More